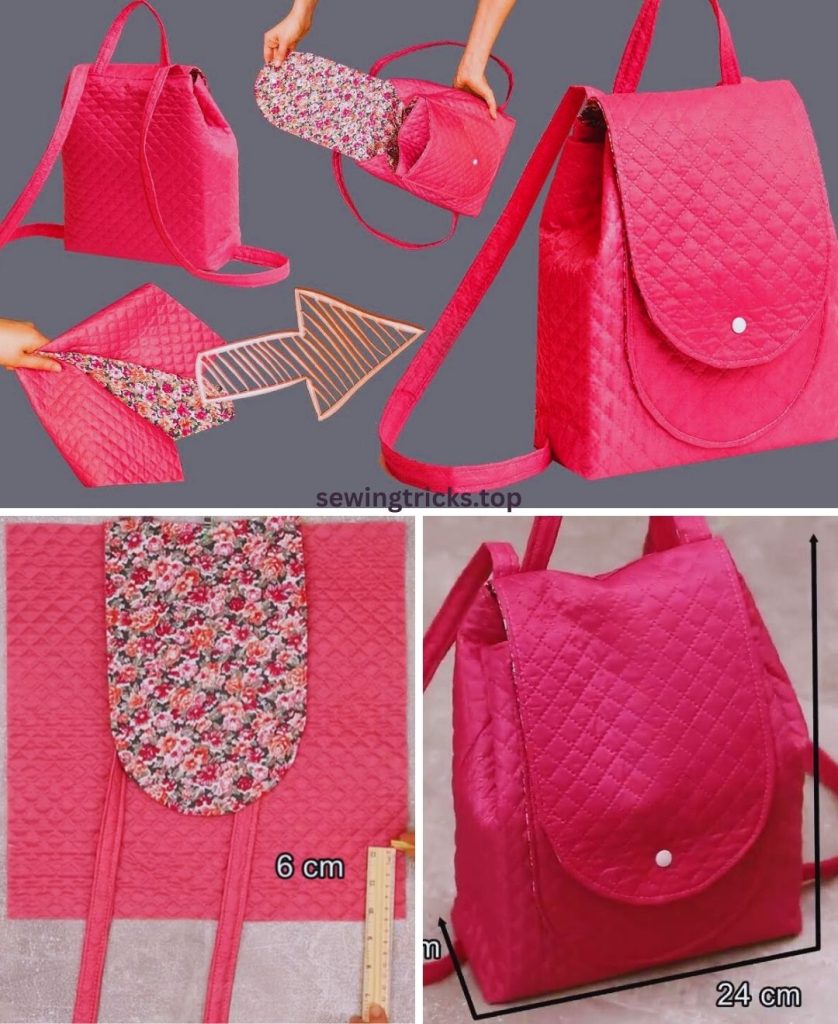
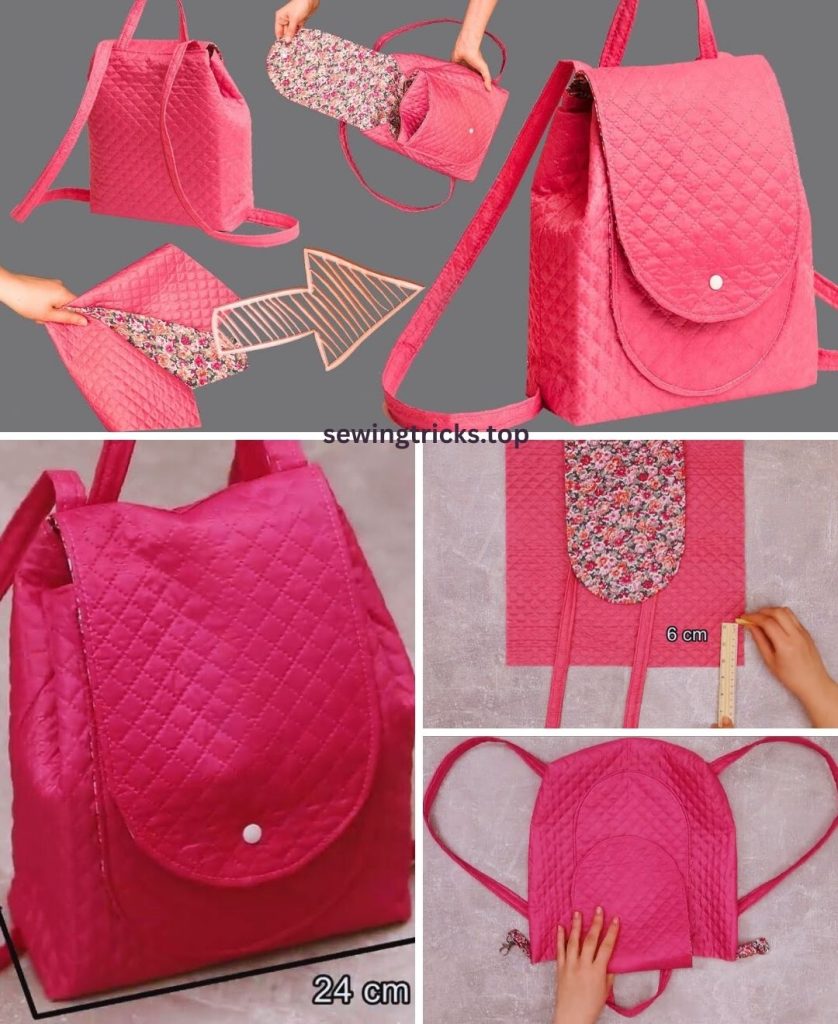
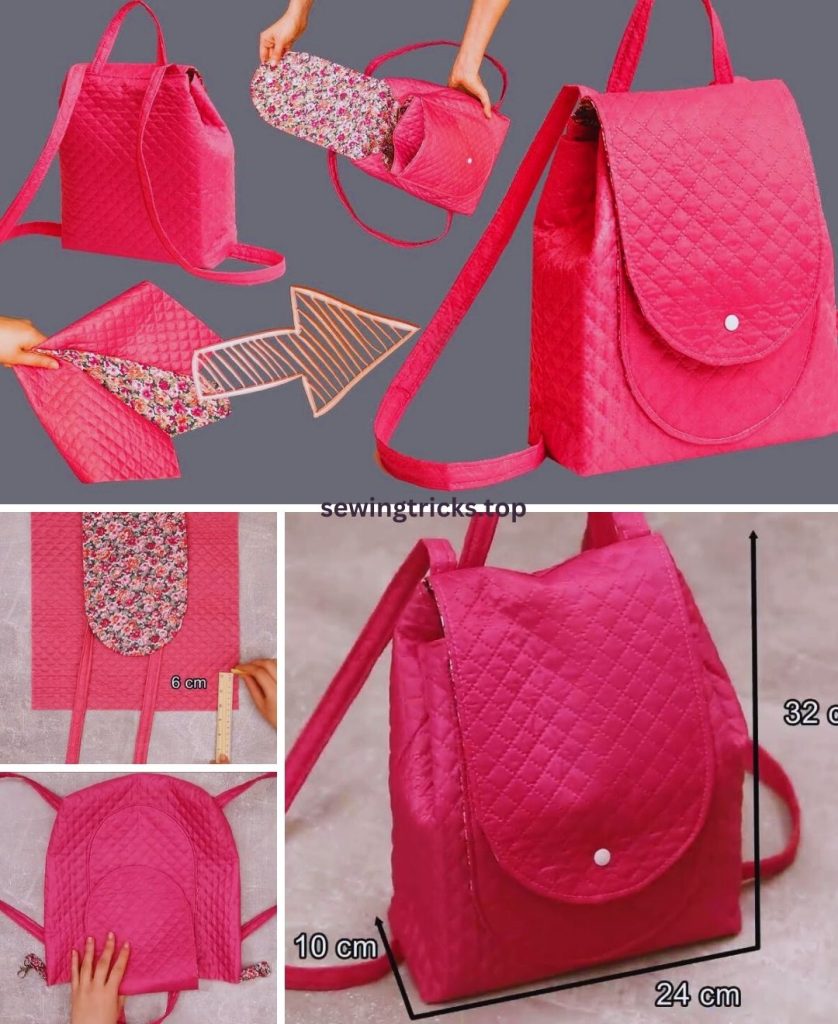
Making your own backpack can be a really satisfying project, and it’s a great way to express your personal style! We’re going to tackle the simplest backpack design – a classic drawstring bag. It’s perfect for beginners, requires minimal materials, and is super versatile for carrying light loads like a gym kit, books, or essentials for a day out.
This guide will break down each step in detail, ensuring you can follow along easily and create a functional, handmade backpack.

How to Sew the Simplest DIY Backpack
I. Planning Your Simple Backpack
Before you start cutting, a little planning helps ensure your project goes smoothly and you love the finished product.
- What Will You Use It For? Knowing this helps you decide on the size and fabric. A gym bag can be lighter, while a school bag might need to be sturdier.
- Desired Size: A common, versatile size for a simple drawstring backpack is about 14 inches wide x 16 inches tall when finished. This allows it to hold a good amount without being bulky.
- Fabric Choice: This is key for a simple backpack.
- Medium to Heavyweight Cotton Canvas or Duck Cloth: These are excellent choices. They’re durable, easy to sew, and hold their shape well.
- Denim: Old jeans are perfect for upcycling! (See my previous detailed guide on that if you have some).
- Ripstop Nylon: Great for a lightweight, water-resistant bag, but can be a bit more slippery to sew.
- Quilting Cotton (if lined): If you use lighter cotton, definitely add a lining for durability.
- Drawstring Material:
- Cotton Rope/Cord: Comfortable on the shoulders and classic.
- Paracord: Very strong and durable.
- Thick Shoelaces: A quick and easy option for smaller bags.
- Webbing: Can be used for extra sturdy straps.
II. Gather Your Materials
Having all your supplies ready before you begin is a real time-saver!
- Main Fabric: 1 yard (0.9 meters) of your chosen medium to heavyweight fabric (e.g., canvas, denim, duck cloth). If you’re lining it, get 1 yard of lining fabric too.
- Drawstring Cord: 2.5 to 3 yards (2.3 to 2.7 meters) of sturdy cord.
- Matching Thread: All-purpose polyester thread. If using thick fabric like denim, consider heavy-duty thread and a longer stitch length.
- Basic Sewing Supplies:
- Sewing Machine (with a walking foot if sewing thick fabrics).
- Correct Needles: Universal needle (size 90/14) for most fabrics, or a denim needle (90/14 or 100/16) for jeans/canvas.
- Sharp Fabric Scissors or Rotary Cutter and Mat.
- Long Quilting Ruler or Measuring Tape.
- Fabric Chalk or Mark-B-Gone Pen.
- Plenty of Pins or Fabric Clips (clips are great for thick fabrics!).
- Iron and Ironing Board (essential for crisp seams).
- Seam Ripper (your ever-faithful friend!).
- Safety Pin or Bodkin: For threading the drawstring.
- Optional: Buttonhole foot for your machine (if making buttonholes) or grommet setting tool and grommets (if using grommets for cord holes).

III. Prepare & Cut Your Fabric Pieces
Accuracy here leads to a well-proportioned backpack. We’ll use a 1/2-inch (1.27 cm) seam allowance throughout this tutorial.
- Desired Finished Backpack Size: Let’s aim for 14 inches wide x 16 inches tall.
- Main Body Fabric:
- Cut 2 rectangles, each 15 inches wide x 19 inches high. (This accounts for 1/2″ seam allowance on sides/bottom and 2.5″ extra height for the drawstring casing at the top.)
- Note: If you need to piece fabric (e.g., from old jeans), remember to sew your pieces together first, press seams open, and then cut your 15″ x 19″ rectangles.
- Lining Fabric (Optional):
- Cut 2 rectangles, each 15 inches wide x 19 inches high.
- Interior Slip Pocket (Optional): Cut 1 rectangle, 8 inches wide x 10 inches high.
- Loop Connectors (for drawstring exits):
- Cut 2 rectangles, each 3 inches wide x 3 inches high from your main fabric.
IV. Let’s Start Sewing Your Simple Backpack!
General Sewing Tips:
- Press as you go: This makes a huge difference in the neatness of your finished product.
- Backstitch: Always backstitch at the beginning and end of each seam to secure the stitches.
- Use clips for thick fabrics: They hold layers more securely than pins.
- Go slow: Especially when you’re learning or sewing over bulky seams.
Step 1: Prepare Loop Connectors
These little loops at the bottom corners are where your drawstring will exit and form the shoulder straps.
- Take your two Loop Connector pieces (3″ x 3″).
- For each piece: Fold it in half lengthwise (wrong sides together) and press firmly. Open it up.
- Fold each long raw edge into the center crease you just made and press again.
- Fold in half along the original center crease. You should now have a strip that’s roughly 3/4 inch (1.9 cm) wide with no raw edges. Press well.
- Topstitch down both long sides of each prepared loop, about 1/8 inch (0.3 cm) from the edge. This makes them neat and strong.
Step 2: Attach Bottom Loop Connectors to Front Panel
- Take one of your Main Body Fabric rectangles – this will be your front panel.
- On the bottom raw edge of this panel, measure up about 1 inch (2.5 cm) from the raw edge, and in from each side raw edge by about 1.5 inches (3.8 cm). Mark these points with chalk.
- Take one prepared loop connector. Fold it in half to create a loop. Position the raw ends of this loop at one of your marked points, with the loop facing upward (into the bag). The raw ends should align with the bottom raw edge of the backpack panel.
- Stitch the loop in place within the 1/2-inch (1.27 cm) seam allowance. Sew a small square or an “X-box” stitch for extra reinforcement, as these loops will bear weight.
- Repeat for the other loop on the other side of the front panel.

Step 3: Sew the Exterior Bag Body
- Place your two Main Body Fabric panels (front and back) right sides together, carefully aligning all raw edges. Make sure your small loops on the front panel are tucked safely inside so they don’t get caught in the side seams.
- Clip securely along both side edges and the entire bottom edge. The top edge remains open.
- Using your 1/2-inch (1.27 cm) seam allowance, stitch from one top corner down that side, pivot sharply at the bottom corner, stitch straight across the bottom, pivot again, and stitch up the other side to the top corner. Backstitch at the beginning and end of your seam to secure it.
- Press your seams open thoroughly to reduce bulk.
Step 4: Prepare the Drawstring Casing
This creates the channel for your drawstring at the top of the backpack.
- With the exterior bag still wrong side out, fold the top raw edge down towards the wrong side by 1/2 inch (1.27 cm) and press firmly.
- Fold it down again by 2 inches (5 cm) and press firmly. This creates your casing. The raw edge should be tucked neatly inside this double fold.
- Pin or clip this casing generously all around the top opening.
- Stitch the casing in place by sewing a line of stitching close to the inner folded edge of the casing (about 1/8 inch / 0.3 cm from the fold). This creates the bottom of your casing channel.
- Optional Top Stitch: For a neater finish and added strength, you can sew a second line of stitching 1/8 inch (0.3 cm) from the very top folded edge of the casing.
Step 5: (Optional) Sew the Lining Bag Body
If you’re adding a lining, follow these steps. If not, skip to Step 6.
- Prepare Interior Slip Pocket (Optional):
- Take your 8″ x 10″ pocket piece. Fold it in half, right sides together, so it’s 8″ x 5″. Stitch around three sides, leaving a 3-4 inch (7.6-10.2 cm) opening on the remaining short side (this will be the bottom of the pocket). Trim corners.
- Turn the pocket right side out through the opening. Press flat. Stitch the opening closed by machine (very close to the edge) or by hand (invisible ladder stitch).
- Attach Pocket: Take one Lining Fabric Main Body Panel. Position the pocket about 4-5 inches (10-12.7 cm) down from the top, centered. Topstitch along its two sides and bottom edge. Reinforce top corners.
- Construct Lining Body:
- Place the two Lining Fabric Main Body Panels right sides together.
- Stitch along both side seams and the bottom seam using a 1/2-inch (1.27 cm) seam allowance.
- CRUCIAL STEP: For the bottom seam, leave an opening! Stitch approximately 3 inches (7.6 cm) from one side, then leave a 4-6 inch (10-15 cm) unstitched gap in the middle of the bottom seam. Stitch the remaining 3 inches. Backstitch well at the start and end of your stitching around the gap. This opening is absolutely essential for turning the backpack right side out later.
- Press your seams open.
- Result: Your lining bag is now formed, with an open top and a turning gap in the bottom. Keep it wrong side out.
Step 6: Join Exterior Bag and Lining (if using lining)
If you’re not using a lining, you can skip this step and go straight to Step 7.
- Ensure your exterior bag is right side out.
- Ensure your lining bag is wrong side out.
- Carefully insert the exterior baginto the lining bag.
- The wrong side of the exterior bag’s casing should be facing the right side of the lining.
- Align the top raw edge of the lining with the top raw edge of the exterior bag’s casing (just below the casing seam you made). Align side seams.
- Clip all the way around the top opening.
- Stitch the lining to the exterior bag along this top edge, using a 1/2-inch (1.27 cm) seam allowance. Backstitch at the beginning and end. This seam will be completely hidden by the casing.

Step 7: Create Drawstring Holes
You need openings on either side of your casing to thread the drawstring through.
- On the exterior bag, find the exact center of the front panel. Mark two points about 1 inch (2.5 cm) in from each side seam, within the casing area (between the two lines of stitching you made in Step 4).
- Option 1: Buttonholes (Recommended for neatness): Use your sewing machine’s buttonhole foot to sew two vertical buttonholes at your marked points. Carefully cut them open with a seam ripper.
- Option 2: Grommets: Mark two points about 1 inch (2.5 cm) in from each side seam. Following the manufacturer’s instructions, use your grommet setting tool to install grommets at these points.
- Note: If you’re not using a lining, these holes are directly on the exterior. If you have a lining, these holes will go through both layers.
Step 8: Thread the Drawstring
This is where your backpack really starts to take shape!
- Cut your drawstring cord into two equal pieces.
- Take the first piece of cord. Attach a large safety pin or a bodkin to one end.
- Start at one of the drawstring holes you just made (e.g., the front-right hole). Thread the cord all the way through the casing, around the back, and back out the same hole you started in (the front-right hole).
- Take the second piece of cord. Thread it through the other drawstring hole (the front-left hole), all the way around, and back out the same hole.
- Now you have two cord ends coming out of each hole.
Step 9: Attach Drawstring Ends to Bottom Loops
- Take the two ends of the cord coming out of the front-right hole.
- Feed them down the right side of the backpack exterior to the bottom right loop connector you sewed in Step 2.
- Thread both cord ends through this bottom loop.
- Tie the two cord ends together in a secure knot (a double knot or fisherman’s knot works well). Trim any excess cord.
- Repeat this process for the two cord ends coming out of the front-left hole, feeding them down the left side of the backpack exterior and tying them securely through the bottom left loop connector.
Step 10: Final Touches (Turn and Close Lining)
- If you have a lining, reach through the opening you left in the bottom seam of the lining (Step 5).
- Slowly and carefully pull the entire backpack through this opening until it is completely right side out. Take your time, gently pushing out all the corners for a crisp shape.
- Close the Lining Opening: Press the raw edges of the opening in the bottom of the lining under by 1/2 inch (1.27 cm) so they meet neatly. Align these pressed edges and clip them together. Stitch this opening closed by machine (sewing very close to the folded edge for a neat finish) or by hand using an invisible ladder stitch for a truly seamless look.
- Push the lining down into the exterior backpack.
- Optional Top Hanging Loop: If you prepared a waistband piece or fabric strip for a top loop (from your jeans or other fabric), fold it in half to create a loop. Hand-stitch or machine-stitch it securely to the back of the backpack, just below the drawstring casing, in the center.
Your unique, handmade, and super simple backpack is now complete! To use it, simply pull the two loops of cord to cinch the top closed, and the loops at the bottom will form your comfortable shoulder straps. Enjoy carrying your creation with pride!
Do you have any other simple sewing projects in mind?


