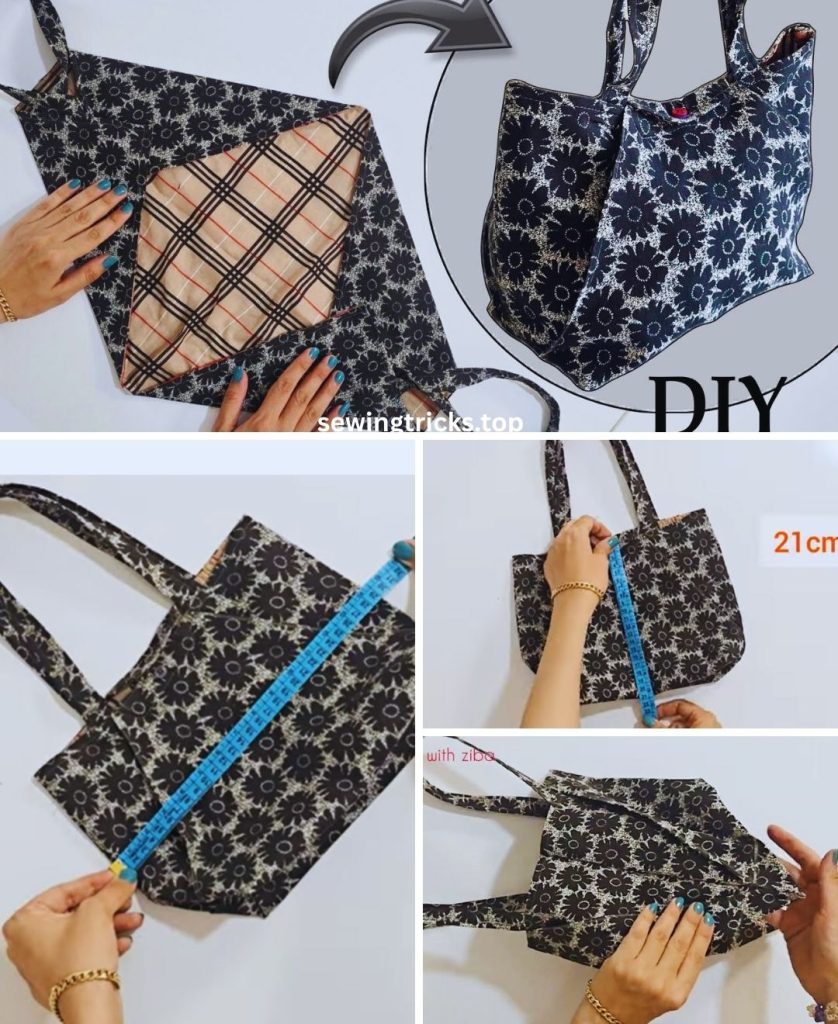
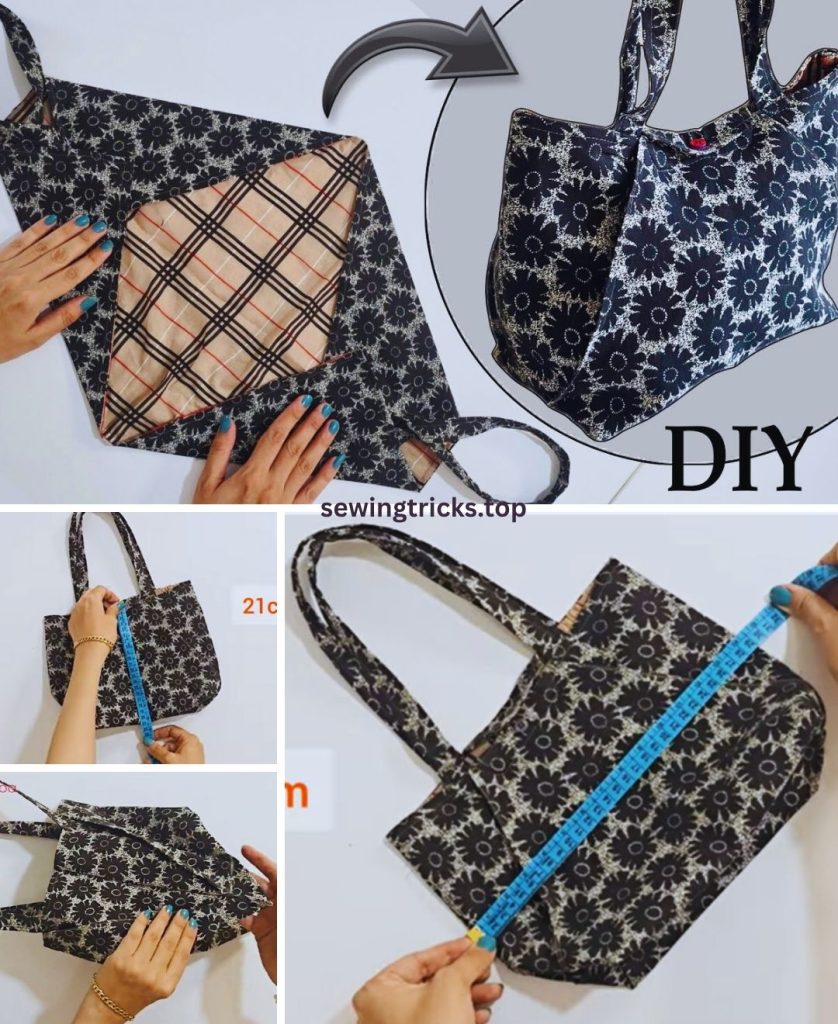
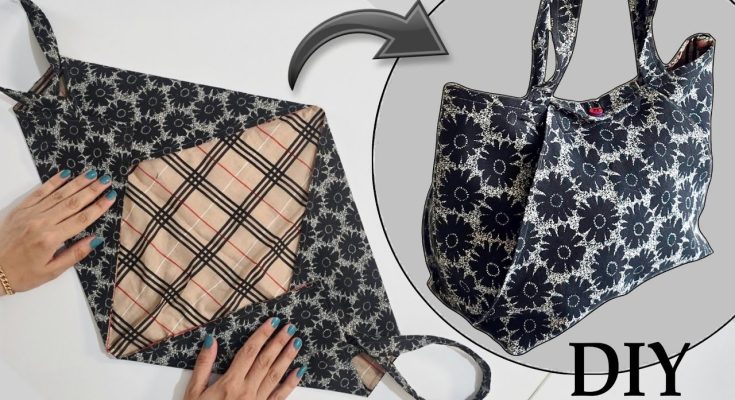
You’re looking to whip up a small tote bag in a flash, aiming for that impressive 10-minute mark! That’s a fun challenge, and it’s totally achievable if you’re open to no-sew or super-minimal-sew methods and a charmingly rustic, handmade look. Forget intricate patterns or multiple seams – we’re going for speed and instant gratification here!
The secret to a truly fast tote lies in picking the right material and using quick-fix techniques. Felt, an old T-shirt, or a pre-hemmed tea towel are your best friends for this project because they’re forgiving and often don’t need fussy edge finishing.

The “10-Minute” DIY Small Tote Bag: Your Guide to Ultra-Fast Crafting!
This method puts speed and simplicity first. The result will be a charmingly rustic bag, perfect for a quick trip to the market, a small gift, or just keeping tiny treasures organized inside a larger bag. Think “pouch-style tote” rather than a structured, rigid one.
What to Expect from Your 10-Minute Creation:
- Rustic Finish: Embrace raw edges (depending on your fabric), straightforward construction, and that lovely handmade feel. This isn’t a high-fashion piece, but it’ll be adorable!
- Simple Structure: Your bag will have a basic shape, likely without a perfectly flat, boxed bottom.
- Best for Lighter Items: Because of its speedy construction, it’s ideal for carrying light groceries, a favorite book, small craft supplies, or as a reusable gift bag.
Method 1: The No-Sew Felt or T-Shirt Tote (The Absolute Fastest!)
This method is lightning-fast because your chosen fabric either doesn’t fray at all (felt) or comes with a ready-made hem (T-shirt).
Materials You’ll Need:
- Fabric (Choose One):
- Felt: One piece of thick craft felt (at least 18×18 inches / 45×45 cm) or even a felt placemat. Felt’s non-fraying nature makes it perfect for no-sew projects.
- OR an Old T-Shirt: One large adult-sized T-shirt (XL or XXL works best). T-shirt knit fabric unravels minimally, making it forgiving.
- Sharp Scissors: Good fabric scissors will make your cuts clean.
- Strong Fabric Glue (Optional, but Recommended for Durability): Brands like Fabri-Tac, Liquid Stitch, or even hot glue (use carefully!) will add strength to your “seams.”
- Hole Punch (Optional, for felt handles): For neat handle holes.

Step-by-Step Instructions (Choose your fabric type: Felt or T-Shirt):
A. If Using Felt:
- Prepare Fabric: Lay your felt piece out flat. It should be at least 18×18 inches (45×45 cm) to give you a decent small tote.
- Fold & Cut Sides: Fold the felt in half, aligning two opposite edges perfectly.
- Create Handles: At the folded edge (which will be the top of your bag), measure in about 2 inches (5 cm) from each side. From these marks, measure down about 4-5 inches (10-12.7 cm). Cut a straight line between these two marks, and then cut a small “U” or “V” shape at the top to form your handle opening. Alternatively, for ultimate speed, simply cut two simple slits wide enough for your hands to go through.
- Glue Side Seams: Unfold your felt. Apply a strong, continuous line of fabric glue (or carefully use hot glue) along the two side raw edges. Fold the felt back in half and press the glued edges firmly together. You can secure them with paper clips or clothes pegs while the glue dries for a stronger bond.
- Fold Bottom (Optional for more structure): If you want a slightly wider base, turn the bag inside out. Fold a 1-inch (2.5 cm) flap from the bottom edge towards the inside and glue it down. This gives it a simple, slightly more defined base.
- Done! Let the glue dry completely before you start loading up your new bag.
B. If Using an Old T-Shirt:
- Prepare Shirt: Lay a large T-shirt flat and smooth it out thoroughly. Make sure the front and back layers are aligned perfectly.
- Cut the Body: Cut straight across the shirt, just below the armpits. This removes the sleeves and the top portion (including the neckband). What you’re left with is a large rectangle (or slightly tapered shape) that still has the original hemmed bottom of the shirt. This existing hem will become the top opening of your tote bag.
- Create Handles:
- Option 1 (Fastest, direct cut): Simply cut the existing neckband area wider and deeper into a U-shape directly on the main shirt body. This creates your bag’s handle opening instantly, bypassing the need to attach separate handles.
- Option 2 (Slightly longer, but neat): From the top section you just cut off (the sleeves/shoulder area), cut two rectangular strips roughly 2-3 inches (5-7.6 cm) wide and 15-20 inches (38-51 cm) long. These will be your separate handles.
- Seal Bottom (No-Sew): Turn the T-shirt tube inside out. Apply a generous, continuous line of strong fabric glue along the raw cut edge at the bottom (where you cut below the armpits). Press the fabric firmly together until it’s securely bonded. Allow it to dry completely. This glued line forms the bottom seam of your bag.
- Attach Handles (If using Option 2 for handles): Apply fabric glue to the ends of your cut handle strips. Fold the handle ends over the top hem of your bag (about 1 inch / 2.5 cm) onto the inside, and press firmly to secure. Let the glue dry completely.
Result: A quick, soft, open-top tote made from your favorite old T-shirt.
Method 2: The “Minimal Sew” Tea Towel or Fabric Scrap Tote (One Quick Seam)
This method involves just one fast straight seam, making it a touch more durable and slightly more polished than purely no-sew, but it’s still incredibly quick! It’s perfect for a fun tea towel or a sturdy fabric remnant.
Materials You’ll Need:
- Fabric: One piece of sturdy cotton fabric, a thick tea towel, or a fabric remnant (at least 18 inches wide x 30 inches long / 45 x 76 cm). Tea towels are excellent because they often come with two finished long edges!
- Sewing Machine & Thread: You just need a basic straight stitch.
- Sharp Scissors: For clean cuts.
- Rope, Webbing, or Fabric Strips: For your handles (about 30-40 inches / 76-102 cm total).

Step-by-Step Instructions:
- Cut Fabric: Lay your fabric flat. If you’re using a tea towel, you’ll likely have two finished long edges already. If not, cut a clean rectangle about 18 inches (45 cm) wide by 30 inches (76 cm) long.
- Fold & Sew Side Seams: Fold the fabric in half, with right sides together, so that the two 18-inch (45 cm) edges meet. Your fabric is now essentially a tube, measuring about 15 inches (38 cm) long.
- Stitch Side Seams: Using your sewing machine, stitch down both of the 15-inch (38 cm) raw side edges, using a 1/2-inch (1.27 cm) seam allowance. Remember to backstitch at the beginning and end of each seam to lock your stitches.
- Result: You now have a fabric tube that forms the main body of your bag.
- Hem Top Edges (If not pre-hemmed): If your fabric wasn’t a pre-hemmed tea towel, you’ll need to finish the top opening. Fold the top raw edge down by 1/4 inch (0.6 cm) and press, then fold it down another 1/2 inch (1.27 cm) and press again. Stitch this hem in place all the way around. Repeat for the other top edge.
- Create Handles: Cut your rope, webbing, or fabric strips into two equal lengths (e.g., two 18-20 inch / 45-51 cm pieces).
- Fold the raw ends of your handles under by about 1/2 inch (1.27 cm) to keep them neat.
- Position the handles on the bag. Measure in about 3-4 inches (7.6-10.2 cm) from each side seam on the top of the bag. Place one handle end here, and the other end an equal distance from the other side seam, forming a loop.
- Quick Stitch Handles: Stitch the ends of the handles directly onto the outside of the bag’s top hem. Sew a small square (about 1×1 inch / 2.5×2.5 cm) or an “X” for extra reinforcement, as handles take a lot of stress. Repeat for the second handle on the other side of the bag.
Result: A simple, quick-sewn tote with two sturdy handles.
Key Tips for 10-Minute Bag Success:
- Embrace the Imperfection: The charm of these super-fast bags is their rustic, handmade nature. Don’t sweat every tiny detail!
- Choose the Right Fabric: This is the most crucial tip! Non-fraying materials like felt or fabrics with existing hems (like tea towels or the bottom of an old T-shirt) are your ultimate allies.
- Keep it Simple: Avoid any complex features like zippers, full linings, or multiple pockets if you’re truly aiming for a 10-minute turnaround.
- Pre-Cut Materials: If you happen to have fabric remnants already cut to roughly the right size, you’ve just shaved off some valuable minutes!
While a “10-minute” tote is a fun, fast project for quick needs, remember that more durable or structured totes will naturally require a bit more time and sewing effort. Happy quick crafting!


