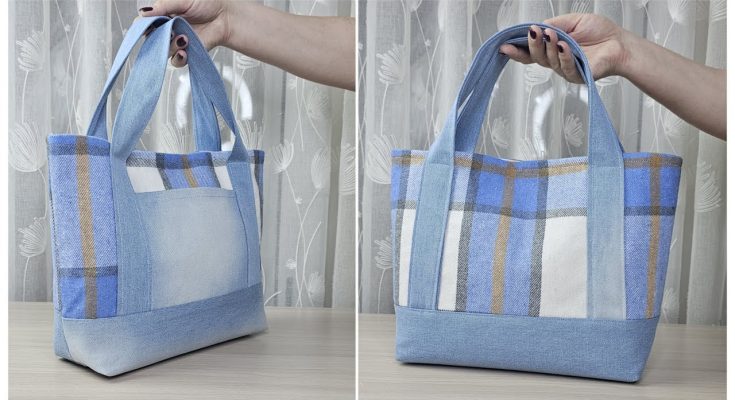
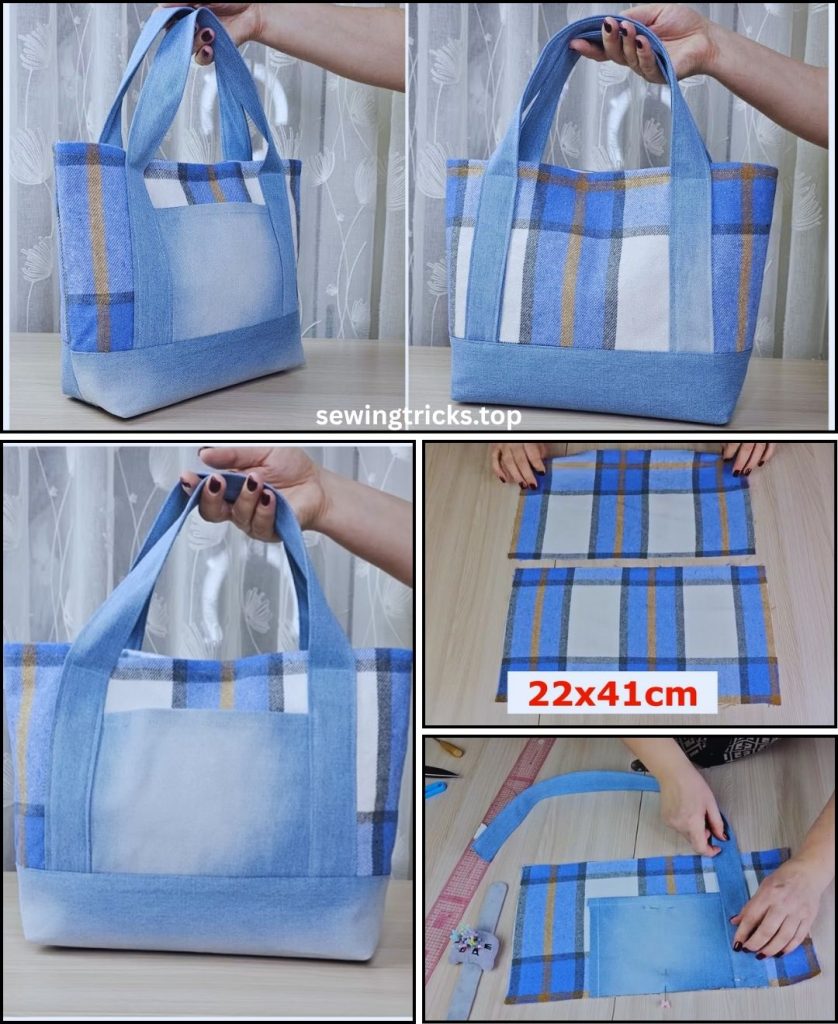
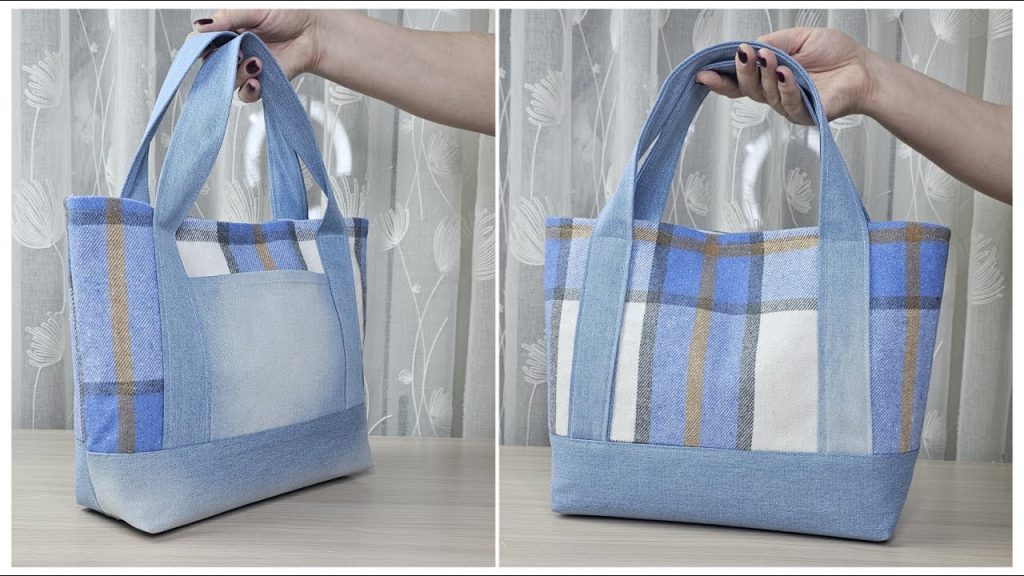
Making a woman’s tote bag from old shirts is a fantastic way to upcycle fabric and create a unique, personalized accessory. It’s an eco-friendly project that allows you to transform forgotten garments into a functional and stylish bag. The beauty of this DIY lies in the variety of shirts you can use—from sturdy denim shirts to soft flannels or even patterned cotton blouses—each offering a different look and feel for your finished tote.
This detailed guide will walk you through sewing a versatile medium-sized tote bag with a flat, boxed bottom, a full lining, and comfortable fabric handles. We’ll aim for a finished size of approximately 14 inches wide x 15 inches tall x 4 inches deep (35.5 cm W x 38 cm H x 10 cm D), perfect for daily essentials or a quick trip out.
How to DIY a Woman’s Tote Bag from Old Shirts
I. Planning Your Upcycled Shirt Tote
Thoughtful planning is essential for a smooth sewing experience and a beautiful end result.
- Choose Your Shirts Wisely:
- You’ll need at least 1-2 large adult shirts (men’s L or XL, or women’s plus sizes generally provide enough fabric). The exact number depends on the size of the shirt and if you plan to piece panels together.
- Fabric Type Matters:
- Sturdy Cotton (e.g., denim, canvas, thick flannel, corduroy): Ideal for a more structured, durable bag. This type of shirt will likely hold its shape well.
- Lighter Cotton (e.g., broadcloth, poplin, chambray): Will create a softer, more relaxed bag. You might consider adding lightweight interfacing to these for more body.
- Avoid overly stretchy or sheer fabrics for this basic tote style, as they can be challenging to work with and may not hold up as well.
- Embrace Existing Features: Think about how you can incorporate original shirt elements for unique touches:
- Pockets: Chest pockets can be reused on the exterior or interior.
- Buttons/Button Plackets: These can be decorative accents or even a functional closure.
- Collar/Cuffs: Sometimes, these can be creatively integrated, though for a simple tote, they’re often trimmed off.
- Lining Fabric: Highly recommended! A lining gives your tote a professional, clean finish, hides all raw seams, and adds durability. Choose a medium-weight cotton fabric (like quilting cotton or broadcloth) that complements or contrasts nicely with your shirt fabric. A lighter color or fun print can brighten the bag’s interior.
- Structure:
- Heavyweight Fusible Interfacing: This is critical! It gives your tote body and helps it stand up on its own, preventing it from being flimsy. Options like Pellon 809 Decor Bond or Pellon 71F Peltex II Ultra Firm work well for a sturdy bag.
II. Gather Your Materials
Having all your supplies ready before you start sewing will make your project run smoothly.
- Old Shirts: 1-2 large, clean, and ironed shirts of your chosen fabric type.
- Lining Fabric: 1 yard (0.9 meters) of medium-weight quilting cotton or broadcloth.
- Heavyweight Fusible Interfacing: 1 yard (0.9 meters).
- Matching Thread: Strong, all-purpose polyester thread that blends with your shirt and lining fabrics. If using denim or heavy cotton shirts, consider topstitching thread for added detail.
- Basic Sewing Supplies:
- Sewing Machine: Ensure your machine can handle multiple layers of fabric. A heavy-duty needle (e.g., size 90/14 or 100/16, especially for thicker shirt fabrics like denim or corduroy) is recommended. A walking foot is highly recommended for feeding thicker fabrics evenly.
- Sharp Fabric Scissors or Rotary Cutter and Mat.
- Long Quilting Ruler or Measuring Tape.
- Fabric Chalk, Frixion Pen, or Mark-B-Gone Pen.
- Plenty of Wonder Clips (excellent for holding thick layers!).
- Iron and Ironing Board (absolutely crucial for pressing seams flat and fusing interfacing).
- Seam Ripper (your best friend for deconstructing shirts and correcting any mistakes!).
III. Prepare Your Shirts & Cut Fabric Pieces
Accuracy in cutting leads to a well-fitting, professional-looking bag. We’ll use a consistent 1/2-inch (1.27 cm) seam allowance throughout this tutorial.
- Target Finished Tote Size: 14″ W x 15″ H x 4″ D (35.5 cm W x 38 cm H x 10 cm D).
A. Deconstruct Your Shirts:
- Cut Off Excess: Lay your shirt flat and smooth. Cut off the sleeves, collar, and bottom hem.
- Open Seams: Carefully cut along one of the side seams (usually the one you want to preserve the least, or a less prominent seam) and along the shoulder seams to open the shirt into flat panels. Iron these panels thoroughly to remove creases.
- Salvage Features (Optional): If the shirt has a chest pocket you want to use, carefully seam rip it off to reattach later.
B. Calculate Your Main Panel Sizes:
- Main Body Panel Width: Finished Width + Finished Depth + (2 * Seam Allowance) = 14″ + 4″ + 1″ = 19 inches (48.3 cm)
- Main Body Panel Height: Finished Height + Finished Depth + (2 * Seam Allowance) = 15″ + 4″ + 1″ = 20 inches (51 cm)
C. Cut Your Fabric Pieces:
- Exterior Shirt Fabric Pieces:
- Main Body (Front & Back): Cut 2 rectangles, each 19 inches wide x 20 inches high.
- Important Note on Piecing: Depending on the size of your shirt, you may need to piece together sections to get these large panels. If piecing, place fabric pieces right sides together, stitch with a 1/2-inch (1.27 cm) seam allowance, and press the seam open to reduce bulk. You can topstitch along each side of the seam on the right side of the fabric for a decorative touch if desired.
- Handle Pieces: Cut 2 rectangles, each 4 inches wide x 25 inches long. (Adjust length for your preferred handle drop; 25 inches is a good shoulder strap length). You may need to piece these from larger shirt scraps.
- Main Body (Front & Back): Cut 2 rectangles, each 19 inches wide x 20 inches high.
- Lining Fabric Pieces:
- Main Body (Front & Back): Cut 2 rectangles, each 19 inches wide x 20 inches high.
- Interior Slip Pocket (Optional): Cut 1 rectangle, 8 inches wide x 10 inches high.
- Heavyweight Fusible Interfacing:
- Main Body Panels: Cut 2 rectangles, each 18 inches wide x 19 inches high (1 inch smaller on all sides than your main fabric panels to keep bulk out of the seam allowances).
IV. Let’s Start Sewing Your Shirt Tote Bag!
General Sewing Tips:
- Press, Press, Press: This is the most crucial step for a crisp, professional-looking bag. Press seams open after each stitching step.
- Backstitch: Always backstitch at the beginning and end of each seam to secure your stitches.
- Walking Foot: Use it! It makes a huge difference when sewing multiple layers or thicker fabrics, ensuring even feeding.
- Clips: They’re excellent for holding thick layers and handles in place, much better than pins!
- Go Slow: Take your time, especially when sewing around corners or through thick areas. Precision over speed!
- Topstitching: Use a slightly longer stitch length (3.0-3.5mm) for topstitching for a more professional, intentional look.
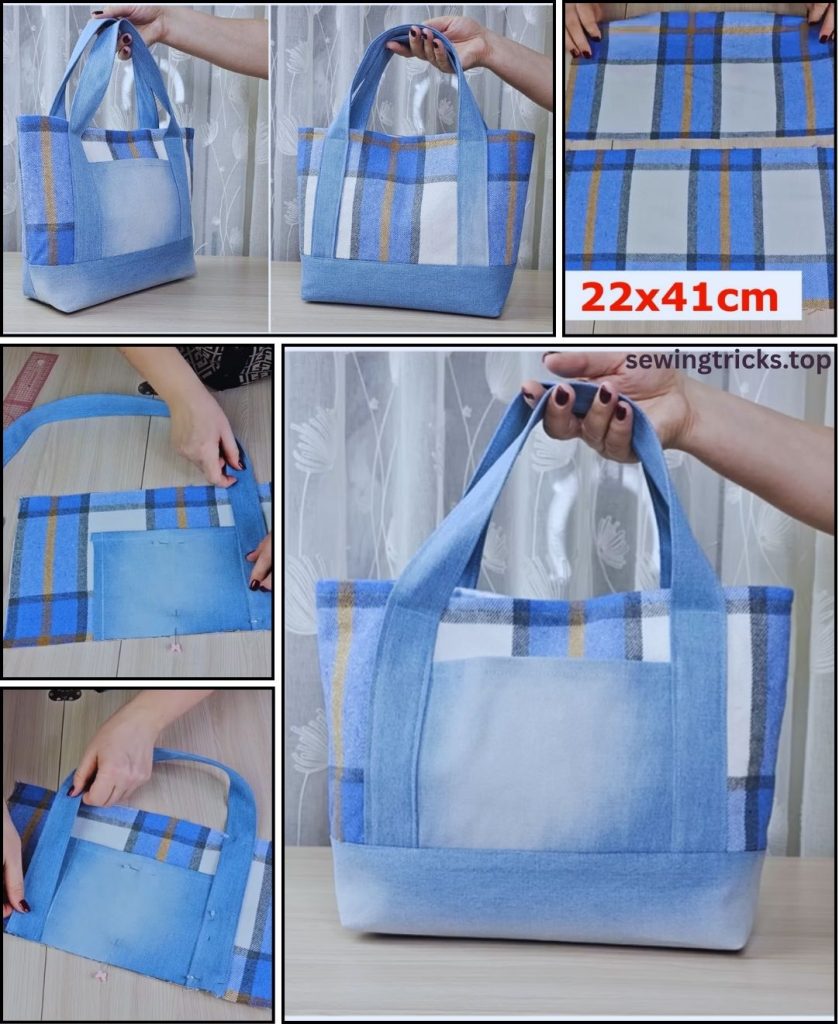
Step 1: Fuse Interfacing to Exterior Panels & Prepare Optional Pockets
- Fuse Interfacing: Take your two Exterior Shirt Fabric Main Body Panels. Lay each one wrong side up on your ironing board. Center one Interfacing piece on each fabric panel. Following the manufacturer’s instructions, fuse it firmly to the wrong side of the fabric. Press evenly and allow to cool completely. This gives your tote structure and body.
- Prepare Interior Slip Pocket (Optional):
- Take your 8″ x 10″ pocket piece (lining fabric).
- Fold one long 8-inch edge down by 1/2 inch (1.27 cm) towards the wrong side and press. Fold it down again by another 1/2 inch and press. Stitch this double-folded hem in place, close to the inner fold. This is the top edge of your pocket.
- Fold the remaining three raw edges (the two short 10-inch sides and the bottom 8-inch side) in by 1/2 inch and press.
- Position this prepared pocket onto the right side of one of your Lining Fabric Main Body Panels. Center it horizontally, about 4-5 inches (10-12.7 cm) down from the top raw edge.
- Topstitch the pocket in place along its two sides and bottom edge, close to the folded edges. Backstitch at the beginning and end, and reinforce the top corners with a small triangle stitch or extra back-and-forth stitches for durability.
- Attach Exterior Shirt Pockets (Optional):
- If you salvaged chest pockets from your shirts, you can now attach them to the right side of your Exterior Shirt Fabric Main Body Panels. Position them as desired (e.g., centered on the lower half of each panel).
- Topstitch each pocket onto its panel along its two sides and bottom edge, close to the original stitching lines. Ensure the top opening of the pocket remains open! Reinforce the top corners for durability.
Step 2: Prepare and Attach Fabric Handles
- Take one Handle Piece (4″ x 25″). Fold it in half lengthwise, wrong sides together, and press firmly along the fold. Open it up.
- Fold each long raw edge in towards the center crease you just made, and press again.
- Fold the entire strip in half again along the original center crease. You should now have a long, flat handle that is about 1 inch (2.5 cm) wide with no raw edges visible. Press firmly along the entire length.
- Topstitch down both long sides of the prepared handle, about 1/8 inch (0.3 cm) from the edge. This secures all the folds and makes a neat, strong handle.
- Repeat this process for the second handle piece.
- Attach to Exterior Bag Panels:
- Lay one Exterior Shirt Fabric Main Body Panel (with fused interfacing and any exterior pockets) right side up.
- Measure in from each side edge about 4-5 inches (10-12.7 cm) along the top raw edge of the panel. Mark these points with fabric chalk. This is where your handles will attach.
- Position the raw ends of one prepared handle on the top raw edge of the panel at your marks. Make sure the handle itself is flat and not twisted. The handle should be pointing down into the panel. Clip securely.
- Stitch the handle ends in place. For a strong hold, sew a small square (about 1×1 inch) with an “X” inside it (an X-box stitch) for maximum reinforcement, as these handles will bear the weight of the bag’s contents. Perform this stitching within the 1/2-inch (1.27 cm) seam allowance, close to the raw edge.
- Repeat for the second exterior panel with the second handle.
Step 3: Sew the Bag Body (Exterior and Lining)
- Exterior Bag: Place your two Exterior Shirt Fabric Main Body Panels right sides together. The handles should be tucked inside. Clip or pin along both side edges and the entire bottom edge.
- Stitch from one top corner down that side, pivot sharply at the bottom corner, stitch straight across the bottom, pivot again, and stitch up the other side to the top corner. Backstitch at the beginning and end of your seam.
- Press all seams open thoroughly to reduce bulk.
- Lining Bag: Now, prepare your Lining Fabric Main Body Panels (with interior pocket attached). Place them right sides together. Clip or pin along both side edges.
- CRUCIAL STEP: For the bottom seam of the lining, you must leave an opening! Stitch down one side seam. Then, for the bottom seam, stitch approximately 3 inches (7.6 cm) from one side, then leave a 4-6 inch (10-15 cm) unstitched gap in the middle of the bottom seam. This opening is absolutely essential for turning the entire bag right side out later. After the gap, stitch for another 3 inches (7.6 cm) to reach the other side seam. Backstitch well at the start and end of your stitching around the gap.
- Stitch up the second side seam of the lining.
- Press all lining seams open.
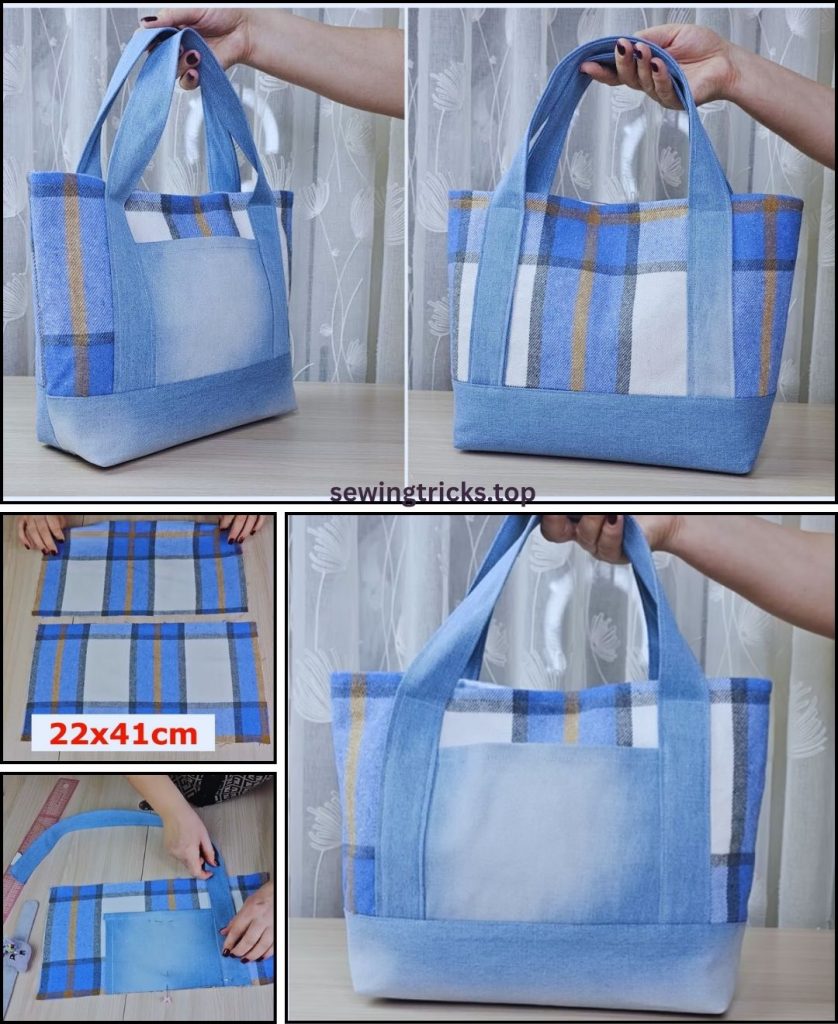
Step 4: Box the Corners (Exterior and Lining)
This step creates the flat, defined bottom of your tote bag, giving it shape and stability.
- At one of the bottom corners of the exterior shirt fabric bag, carefully bring the side seam and the bottom seam together, aligning them perfectly. This will naturally form a triangular shape at the corner.
- Measure from the tip of this triangle inward along the seam line a distance equal to half of your desired bag depth (e.g., for a 4-inch deep bag, you’ll measure 2 inches / 5 cm).
- Draw a straight line perpendicular to the seam at this measured point. (This line will be 4 inches long if your desired depth is 4 inches).
- Clip firmly along this drawn line.
- Stitch precisely along the drawn line, backstitching securely at both ends.
- Trim the excess fabric from the corner, leaving about a 1/2-inch (1.27 cm) seam allowance beyond your new stitching line.
- Repeat this exact process for all three remaining corners (the other exterior corner and both lining corners).
- Result: Both your exterior fabric bag and your lining bag now have structured, flat bottoms. Keep the exterior bag right side out and the lining bag wrong side out.
Step 5: Final Assembly (The “Bag-in-a-Bag” Method)
This clever technique encloses all raw edges at the top of your bag, resulting in a very clean and professional finish.
- Carefully insert the exterior shirt fabric bag (which is right side out, with handles pointing down inside) into the lining bag (which is wrong side out and has the turning opening).
- The right sides of both bags should now be facing each other.
- Align the side seams of the exterior bag with the side seams of the lining bag.
- Align the top raw edges of the exterior fabric and the lining fabric all around the entire opening of the bag. The handles should be tucked well inside between the layers.
- Clip very securely all the way around this top opening, matching up seams precisely.
- Stitch all the way around the entire top opening of the bag, using a 1/2-inch (1.27 cm) seam allowance. Go slowly and carefully, especially over the thick areas where the handles are attached. Backstitch at the beginning and end of your seam.
- Trim Bulk: Carefully trim the seam allowance at the top down to about 1/4 inch (0.6 cm) to reduce bulk inside the top edge for a smoother finish.
Step 6: Turn Your Bag Right Side Out & Finish!
This is the incredibly satisfying moment your handmade bag takes its final, beautiful shape!
- Remember that opening you left in the bottom seam of the lining in Step 3? Reach through it.
- Slowly and carefully pull the entire bag (exterior, lining, handles – everything!) through this opening until it is completely right side out. Take your time, gently pushing out all the corners for a crisp, well-defined shape.
- Close the Lining Opening: Go to your ironing board. Press the raw edges of the opening in the bottom of the lining under by 1/2 inch (1.27 cm) so they meet neatly. Align these pressed edges and pin or clip them together. Stitch this opening closed by machine (sewing very close to the folded edge for a neat finish) or by hand using an invisible ladder stitch for a truly seamless look.
- Now, gently push the lining down into the exterior bag, ensuring it sits smoothly inside and the top edges are even.
- Final Press & Topstitch: Carefully press the entire top edge of the bag, ensuring the lining is fully tucked inside and isn’t peeking out over the top edge of the exterior fabric.
- For a super polished and durable finish, topstitch all around the entire top opening of the tote, sewing about 1/8 inch (0.3 cm) from the edge. This final topstitching marries the lining to the exterior, helps the bag hold its shape, and creates a crisp, professional look. You can also sew a second row of topstitching about 1/2 inch (1.27 cm) from the top edge for added detail and stability.
Congratulations! Your unique, upcycled Woman’s Tote Bag from Old Shirts is now complete. You’ve transformed old garments into a functional, stylish, and truly personalized accessory. Enjoy carrying your sustainable creation with pride!
What kind of shirt fabric did you choose for your tote, and did you incorporate any of its original features into your design?

