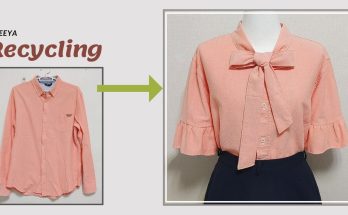
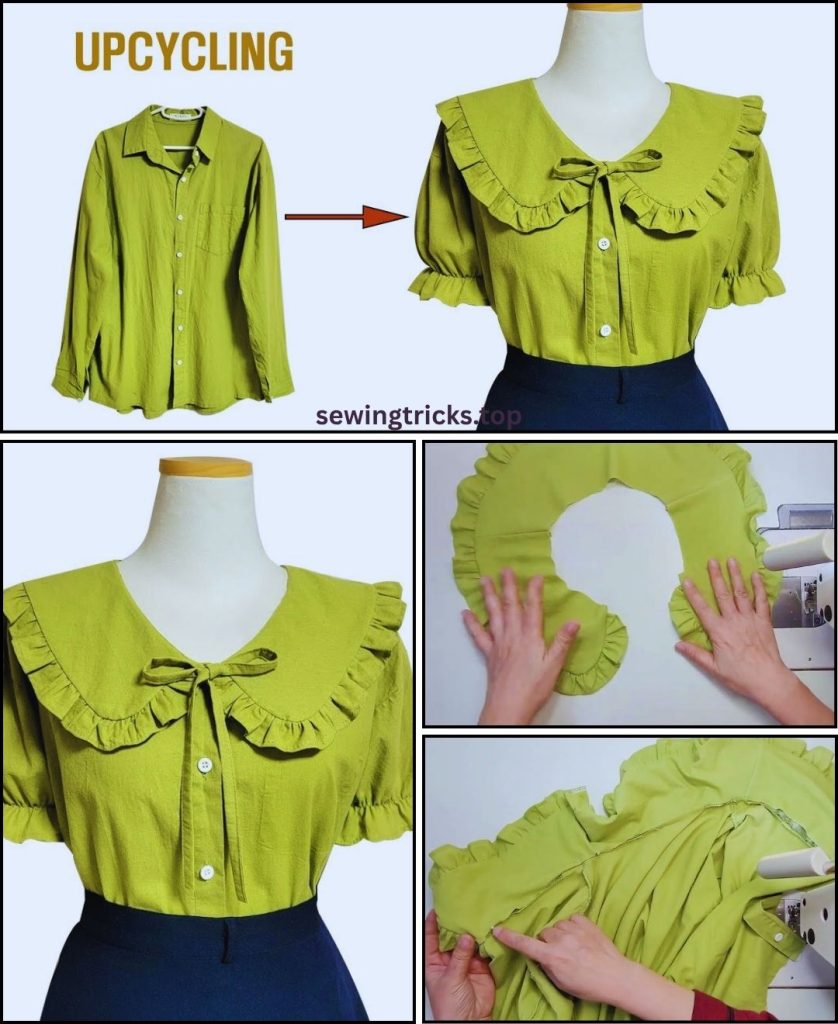
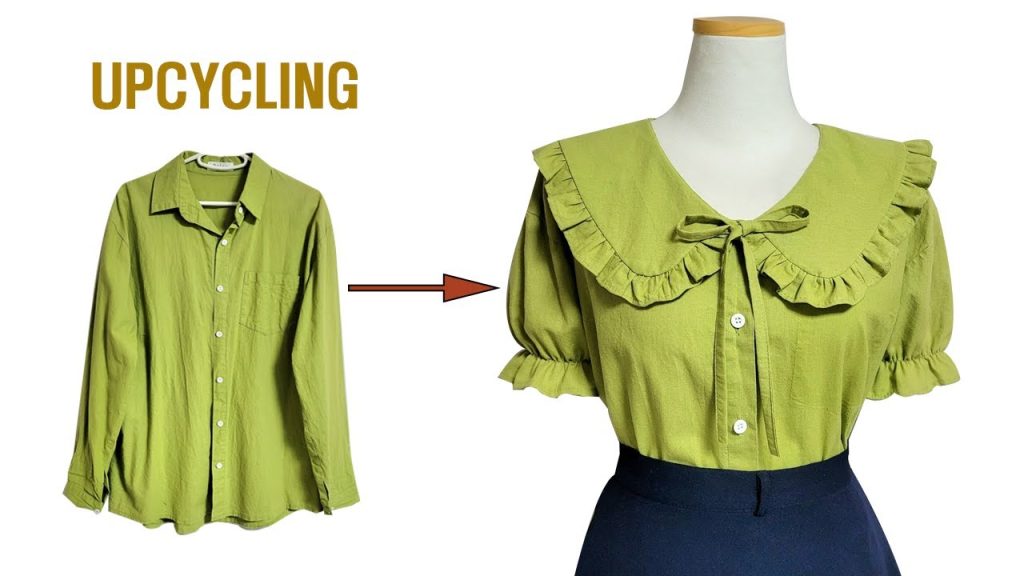
You’re looking to dive into the wonderful world of refashioning and upcycling old clothes! This is an incredibly rewarding way to refresh your wardrobe, express your creativity, and contribute to a more sustainable lifestyle. Instead of tossing out garments, you’re giving them a second life, transforming them into something new and exciting.
There’s no single rulebook for refashioning; it’s all about imagination and adapting to the clothes you have. Below, I’ll detail two popular and versatile approaches to recycling old clothes, suitable for different levels of sewing experience and types of garments.
How to Refashion Old Clothes: Recycling Your Wardrobe
Before starting any refashioning project, always wash and iron your old clothes. This ensures the fabric is clean, easier to work with, and any potential shrinkage has already occurred.
Idea 1: Simple Restyle – The “Chop & Sew” Method
This method is perfect for beginners or anyone looking for a quick, impactful transformation. It focuses on changing the silhouette, length, or adding simple details to an existing garment without extensive deconstruction.
Common Transformations:
- Too-Big T-shirt to Fitted Top/Crop Top: Take in the sides, shorten the hem, or create a new neckline.
- Long Dress/Skirt to Shorter Version: Simply hem it to a new length.
- Button-Down Shirt to Vest: Remove sleeves and part of the back to create an open vest.
- Jeans to Shorts: Cut and hem the legs.
Materials You’ll Need:
- Old Garment: The item you wish to refashion (e.g., an oversized shirt, a long dress, old jeans).
- Matching Thread: All-purpose polyester thread.
- Basic Sewing Supplies:
- Sewing machine (with appropriate needle for your fabric, e.g., universal, denim, or ballpoint for knits).
- Sharp Fabric Scissors or Rotary Cutter and Mat.
- Measuring Tape or Ruler.
- Fabric Chalk, Frixion Pen, or Mark-B-Gone Pen.
- Pins or Fabric Clips.
- Iron and Ironing Board (crucial for neat hems and seams).
- Seam Ripper (your best friend for undoing stitches!).
- (Optional) Elastic, trim, or other embellishments if adding new features.
Step-by-Step Tutorial: Simple Restyle (Example: Too-Big T-shirt to Fitted Crop Top)
This example focuses on taking in the sides and shortening the hem of a t-shirt. The principles apply to many simple restyles.
1. Prepare Your Garment
- Lay your T-shirt flat and smooth on your work surface.
- If it’s an oversized tee, try it on inside out.
2. Mark New Seams
- For the sides: Put on the oversized T-shirt inside out. Use pins or fabric chalk to mark a new, narrower side seam, starting from just under your armpit and tapering down to your desired hip or waistline. Ensure the front and back are marked evenly. Alternatively, lay a well-fitting T-shirt on top of the oversized one (matching armpits and shoulders) and trace its side seams.
- For the hem: Try the T-shirt on (right side out) and mark your desired new hem length with chalk or pins. Add 1 inch (2.5 cm) below this mark for the hem allowance.
3. Cut & Sew New Side Seams
- Take the T-shirt off and lay it flat. Cut away the excess fabric along your marked side seams, leaving a 1/2-inch (1.27 cm) seam allowance.
- Pin along the new side seams, right sides together.
- Stitch these new side seams. If your T-shirt is knit fabric (stretchy), use a stretch stitch on your sewing machine (a narrow zigzag or a specific lightning bolt stitch) to prevent the seam from breaking when stretched.
- Press the seams open or to one side. Finish the raw edges with a zigzag stitch or serger to prevent fraying.
4. Hem the Bottom
- Fold the raw bottom edge up towards the wrong side by 1/2 inch (1.27 cm) and press firmly.
- Fold it up again by another 1/2 inch (or your desired hem allowance) and press.
- Stitch this hem in place, sewing close to the inner folded edge. Use a stretch stitch if your fabric is knit.
5. Final Touches
- Trim any loose threads.
- Give your newly refashioned top a good final press.
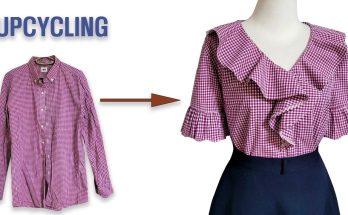
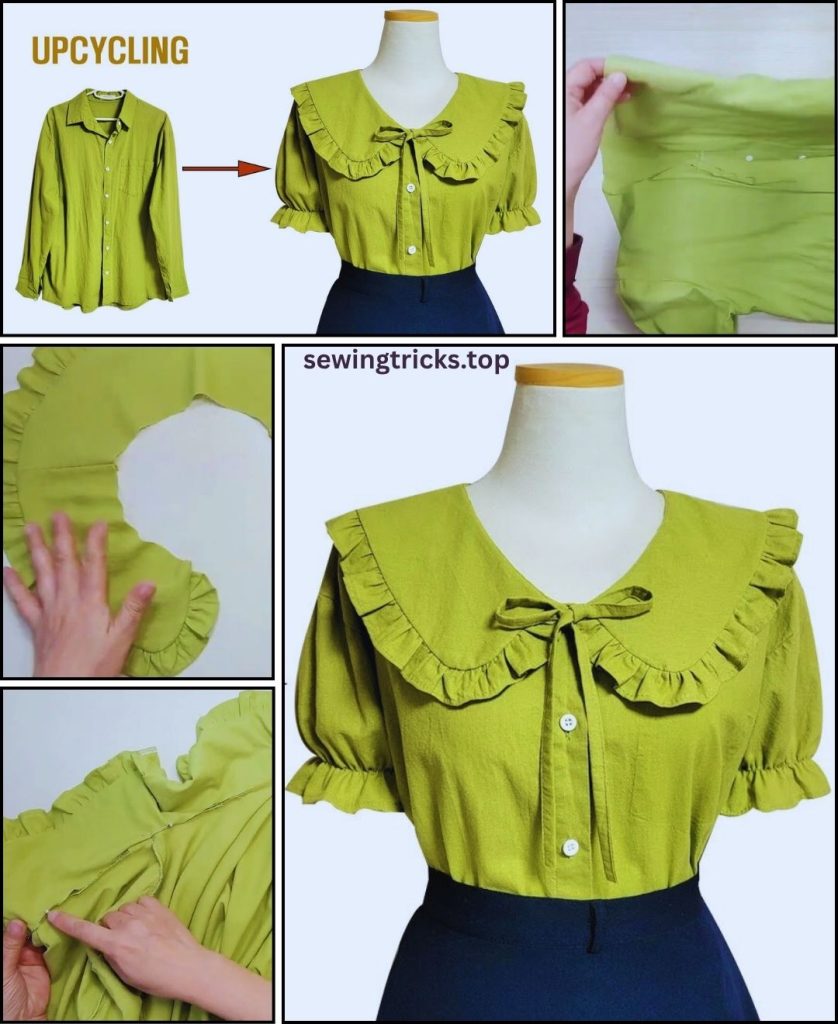
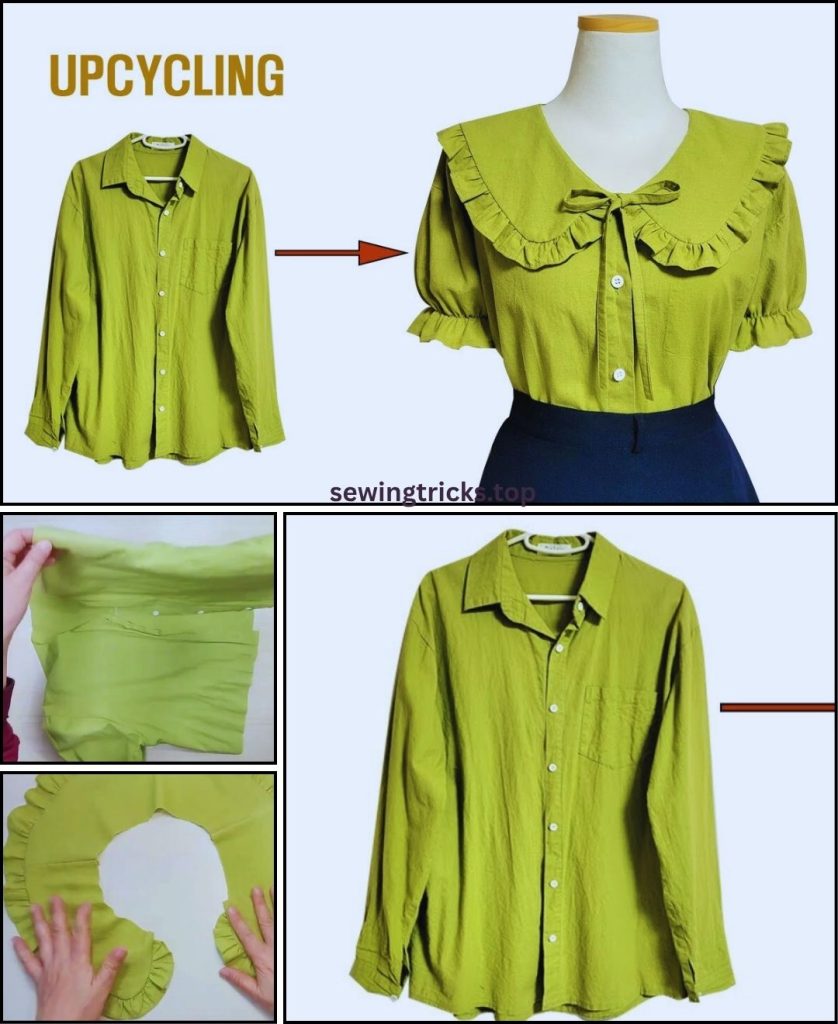
Idea 2: Major Transformation – Deconstruct & Reconstruct
This approach involves completely taking apart an old garment (or several) and using the fabric to create something entirely different. It’s suitable for intermediate sewers and offers the most creative freedom.
Common Transformations:
- Button-Down Shirt to Skirt: Use the shirt’s body, placket, and even sleeves to create a unique skirt.
- Jeans to Tote Bag/Apron: Repurpose denim for sturdy accessories.
- Multiple T-shirts to Patchwork Top/Skirt/Dress: Combine fabrics for a unique, colorful piece.
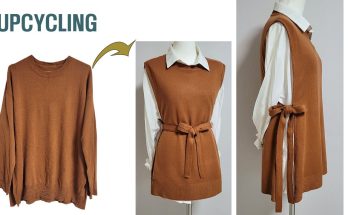
- Sweater to Hat/Mittens/Pillow: Utilize knit fabric for cozy items.
Materials You’ll Need:
- Old Garment(s): The source fabric (e.g., a large button-down shirt, several t-shirts, old jeans).
- New Pattern/Template: A sewing pattern for the item you want to create, or a well-fitting existing garment to use as a template.
- Matching Thread: All-purpose polyester or specific thread for fabric type (e.g., denim thread).
- Basic Sewing Supplies: Sewing machine (with appropriate needle), sharp fabric scissors or rotary cutter and mat, measuring tape, fabric chalk/pen, pins/clips, iron, ironing board, seam ripper.
- (Optional) Interfacing: If the new item requires more structure (e.g., a bag).
- (Optional) Closures/Hardware: Zippers, buttons, snaps, D-rings, etc., if your new item requires them.
Step-by-Step Tutorial: Major Transformation (Example: Button-Down Shirt to Simple Skirt)
This example focuses on transforming a button-down shirt into a simple elastic-waist skirt, utilizing the original button placket.
1. Deconstruct Your Shirt
- Lay the button-down shirt flat.
- Carefully cut off the sleeves, collar, and shoulder seams to get the largest possible flat panels of fabric.
- Unpick (seam rip) the side seams to open the shirt into a large, flat rectangle, preserving the front button placket. Press all fabric pieces smooth.
2. Plan & Cut Skirt Panels
- Measure your waist/hip: Decide where you want the skirt to sit. Measure your circumference.
- Determine skirt length: Measure from your chosen waist/hip position to your desired hemline. Add 1 inch (2.5 cm) for the waistband casing and 1 inch (2.5 cm) for the hem.
- Cut Panels: You’ll typically cut two panels: a front and a back.
- The front panel will use the original button placket for the center front. So, your front panel will be a rectangle of fabric that includes the button placket, extending outwards to your desired skirt width.
- Width Calculation: (Your Hip Measurement / 2) + 4 to 6 inches (10-15 cm) for ease and seam allowances.
- Height Calculation: Your desired length + seam allowances.
- The back panel will be a plain rectangle of the same width and height.
- Cut these pieces precisely.
- The front panel will use the original button placket for the center front. So, your front panel will be a rectangle of fabric that includes the button placket, extending outwards to your desired skirt width.
3. Sew Skirt Body
- Place the front skirt panel and back skirt panel right sides together, aligning the side edges.
- Pin along both side seams. Stitch both side seams using a 1/2-inch (1.27 cm) seam allowance.
- Press seams open. Finish raw edges with a zigzag stitch or serger.
4. Create the Waistband Casing
- At the top raw edge of the skirt, fold the fabric down towards the wrong side by 1/4 inch (0.6 cm) and press.
- Fold it down again by an amount slightly wider than your chosen elastic (e.g., if using 1-inch elastic, fold down 1.25 inches / 3.17 cm). Press firmly.
- Stitch this casing down, sewing close to the inner folded edge. Leave a 1-2 inch (2.5-5 cm) opening for threading the elastic.
5. Thread the Elastic
- Measure elastic to fit comfortably around your waist. It should be snug but not too tight. Add about 1 inch (2.5 cm) for overlap.
- Attach a safety pin to one end of the elastic. Thread the safety pin through the casing until both ends emerge.
- Overlap the elastic ends by 1 inch and stitch securely (a zigzag stitch is good).
- Gently pull the elastic into the casing, distributing gathers evenly. Stitch the opening in the casing closed.
6. Hem the Skirt
- At the bottom raw edge of the skirt, you can often reuse the original shirt hem if your length works out. Simply trim the skirt to that length.
- If creating a new hem, fold the raw bottom edge up towards the wrong side by 1/4 inch (0.6 cm) and press. Fold up again by 1/2 to 1 inch (or your desired hem allowance) and press. Stitch this hem in place, sewing close to the inner fold.
7. Final Touches
- If your skirt’s front placket has buttons, button them up.
- Give your new skirt a good final press.
General Tips for Successful Refashioning:
- Pre-wash and Pre-plan: Always wash fabric first. Plan your cuts carefully, thinking about how to maximize the fabric and utilize existing hems or details.
- Embrace Imperfection: Part of the charm of refashioned clothing is its unique, sometimes quirky, character. Don’t stress over perfection.
- Test Stitches: Always test your stitch length and tension on a scrap piece of your chosen fabric before sewing your actual garment.
- Pressing is Your Friend: Pressing seams after each step makes a huge difference in the professionalism of your finished item.
- Learn Basic Techniques: Knowing how to sew a straight seam, create a hem, sew a casing, and use a seam ripper are invaluable skills.
- Don’t Be Afraid to Experiment: The beauty of refashioning is that you’re working with fabric that would otherwise go to waste. If a project doesn’t turn out perfectly, you’ve still learned something valuable!
Refashioning opens up a world of creative possibilities for your wardrobe. What type of old clothes are you most excited to transform?
Video Tutorial