

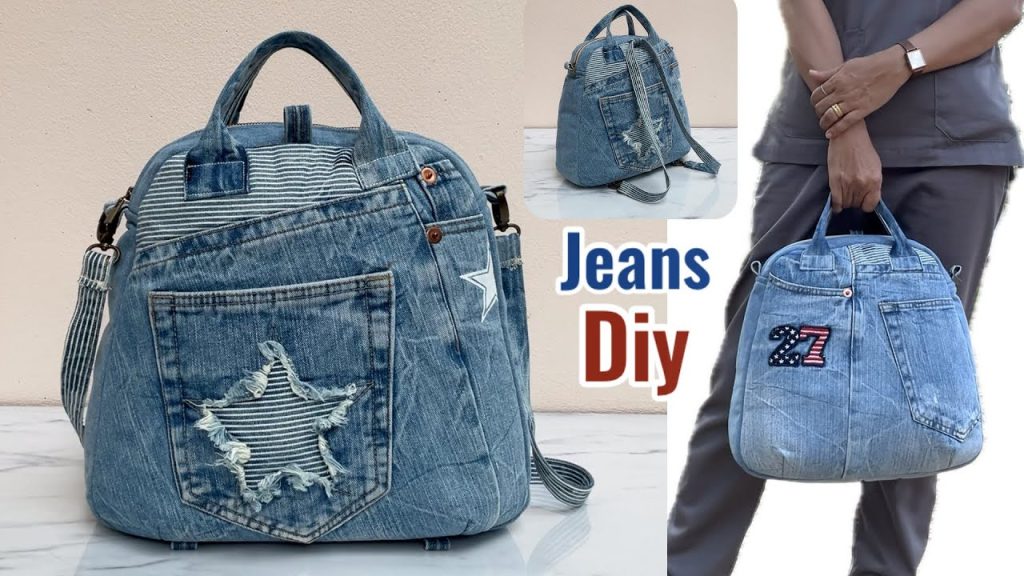
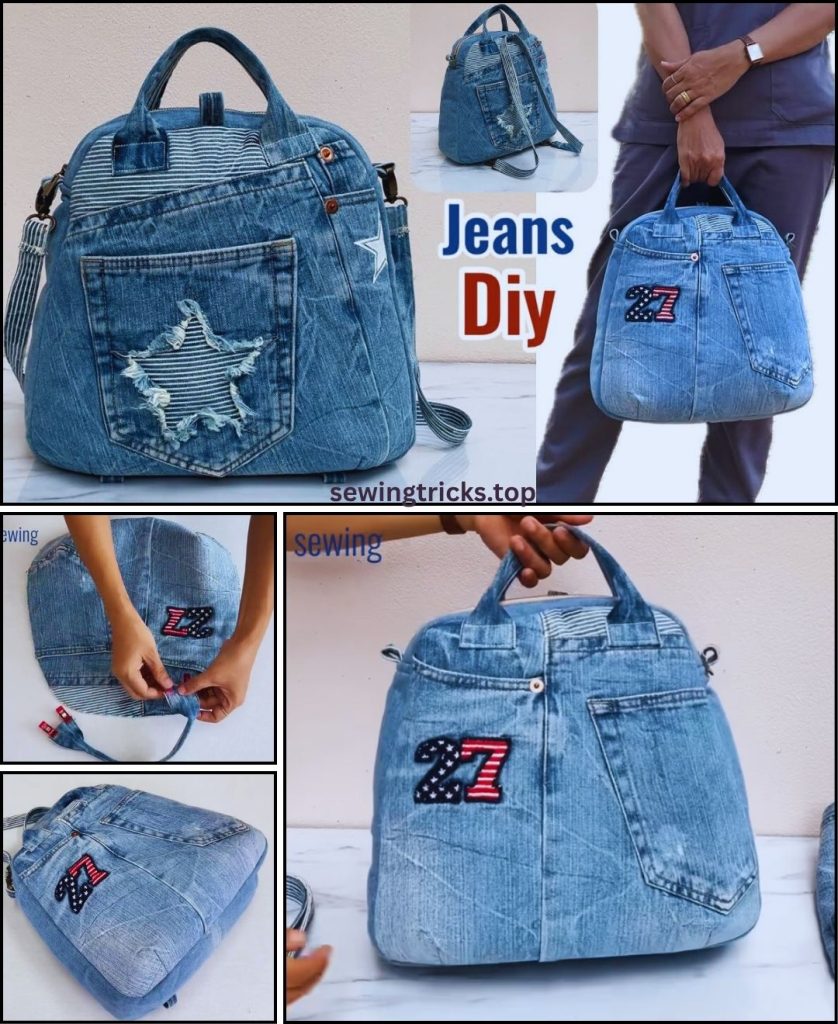
You’re ready to tackle another fantastic denim upcycling project – a backpack! Turning old jeans into a denim backpack bag is a rewarding endeavor. Denim is incredibly durable and lends itself beautifully to the rugged, yet stylish, nature of a backpack. Plus, the variations in denim washes from different jeans can create a unique, patchwork-like effect that’s truly one-of-a-kind.
This detailed tutorial will guide you through creating a sturdy and practical roll-top denim backpack. The roll-top design is excellent because it allows you to adjust the bag’s capacity, making it versatile for different needs. We’ll aim for a finished size of approximately 15 inches (38 cm) tall (when rolled and closed) x 12 inches (30 cm) wide x 4 inches (10 cm) deep, with the ability to expand when unrolled.
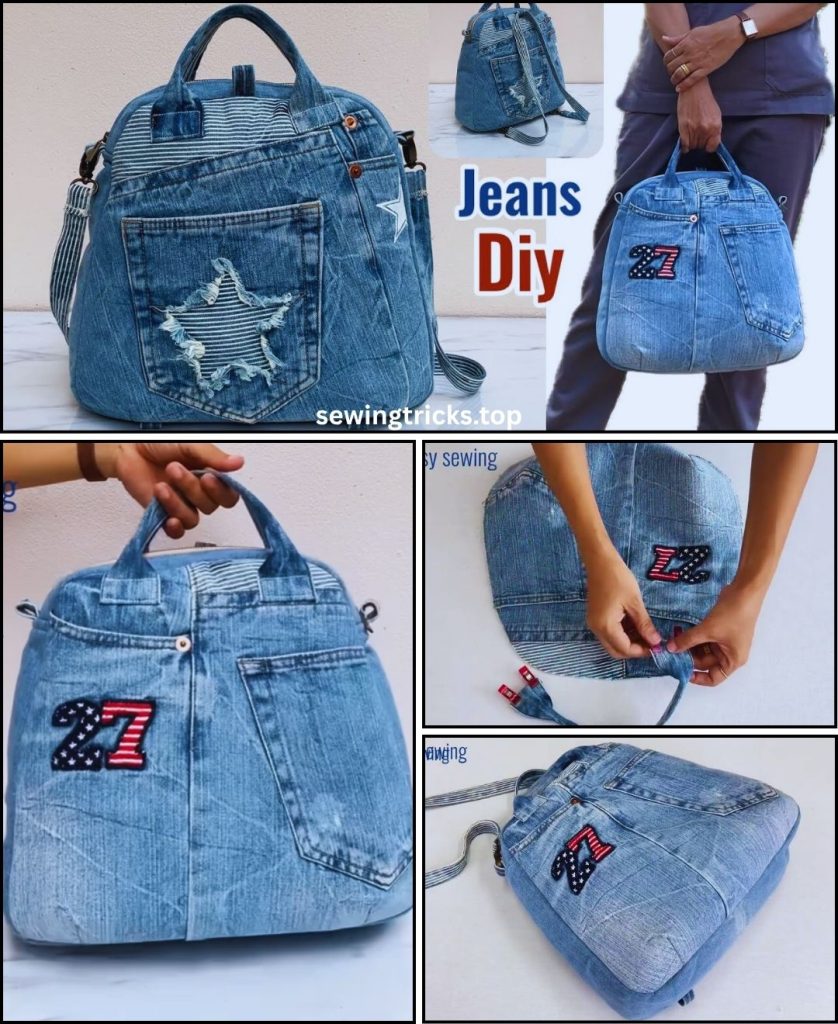
How to Sew a Denim Backpack Bag from Old Jeans
This project is suitable for intermediate sewers. It involves working with multiple layers of denim, installing hardware, and creating adjustable straps, which require a bit more precision.
I. Planning & Gathering Your Materials
Careful planning and the right materials are crucial for a successful and durable backpack.
- Old Jeans:
- Quantity: 2-3 pairs of adult-sized jeans. Look for straight-leg or bootcut jeans, as they offer the largest continuous fabric panels. Sturdy, non-stretch denim works best. Avoid heavily distressed or ripped areas if you want a strong bag, unless you plan to reinforce them.
- Preparation: Wash and thoroughly dry your jeans before cutting. This prevents shrinkage later and makes them easier to work with.
- Lining Fabric (Recommended):
- Type: Durable woven cotton (quilting cotton, broadcloth), canvas, or even ripstop nylon for a water-resistant interior.
- Quantity: Approximately 1 yard (0.9 meters).
- Preparation: Wash and iron.
- Interfacing (Highly Recommended for Structure):
- Type: Medium to heavy-weight fusible interfacing (e.g., Pellon 809 Decor Bond or a comparable non-woven stabilizer). This will give your backpack body and help it hold its shape, making it look more professional.
- Quantity: Approximately 1 yard (0.9 meters).
- Webbing for Straps & Handle:
- Type: Cotton or polypropylene webbing, 1.5 inches (3.8 cm) wide.
- Quantity: Approximately 3 yards (2.7 meters) total (two 30-inch / 76 cm pieces for shoulder straps, one 12-inch / 30 cm piece for the top handle, and one 8-inch / 20 cm piece for the roll-top buckle strap).
- Buckle & Hardware:
- 1 Side-Release Buckle: 1.5 inches (3.8 cm) to match your webbing width.
- 2 Slider/Adjuster Buckles (Ladder Locks): 1.5 inches (3.8 cm) to match your webbing width, for adjustable straps.
- Optional Hardware:
- 1 Zipper: (e.g., 6-8 inches / 15-20 cm) for an interior or exterior pocket.
- 4 Bag Feet: To protect the bottom of your backpack.
- Matching Thread: All-purpose polyester thread. A stronger, heavy-duty thread (like upholstery thread or topstitching thread) is highly recommended for all seams, especially where multiple layers of denim overlap, and for visible topstitching.
- Basic Sewing Tools:
- Sewing machine (a denim needle or heavy-duty needle, size 16 or 18, is essential for sewing through multiple layers of denim).
- Walking foot (optional but highly recommended): This attachment helps feed multiple thick layers of fabric evenly through your machine, preventing shifting and puckering.
- Sharp Fabric Scissors or Rotary Cutter and Mat.
- Measuring Tape or Long Ruler.
- Fabric Chalk, Frixion Pen, or Mark-B-Gone Pen.
- Plenty of Pins or Fabric Clips (ABSOLUTELY ESSENTIAL for thick denim layers).
- Iron and Ironing Board.
- Seam Ripper (your most important tool!).
- Awl: Useful for piercing holes for bag feet or other hardware.
II. Prepare & Cut Your Fabric Pieces
Accuracy in cutting is crucial for a well-shaped backpack. We’ll use a consistent 1/2-inch (1.27 cm) seam allowance throughout, unless otherwise specified.
1. Deconstruct Your Jeans
- Lay your washed and ironed jeans flat.
- Cut off the legs just below the crotch seam.
- Carefully unpick (seam rip) the inseam (the inner leg seam) and the outer leg seam of both legs. This will give you large, flat pieces of denim. Press them flat.
- Harvest Pockets (Optional): Carefully cut off back pockets, leaving about a 1/2-inch (1.27 cm) seam allowance around the stitched edges. These can be added as exterior pockets.
2. Cut Main Backpack Panels
- From your Denim (Exterior Fabric):
- Main Body (Front/Back/Roll-Top): 1 piece, 30 inches (76 cm) tall x 13 inches (33 cm) wide.
- Side Panels: 2 pieces, 15.5 inches (39.4 cm) tall x 5 inches (12.7 cm) wide.
- Bottom Panel: 1 piece, 13 inches (33 cm) long x 5 inches (12.7 cm) wide.
- Shoulder Strap Bottom Tabs: 2 pieces, 3 inches (7.6 cm) long x 2 inches (5 cm) wide.
- Optional Exterior Pocket(s): Cut a rectangle from denim for a front pocket (e.g., 10″ x 8″ for a simple patch pocket), or use a harvested jean back pocket.
- From your Lining Fabric:
- Main Body Lining: 1 piece, 30 inches (76 cm) tall x 13 inches (33 cm) wide.
- Side Lining Panels: 2 pieces, 15.5 inches (39.4 cm) tall x 5 inches (12.7 cm) wide.
- Bottom Lining Panel: 1 piece, 13 inches (33 cm) long x 5 inches (12.7 cm) wide.
- Optional Interior Pocket: 1 piece, 10 inches (25 cm) tall x 12 inches (30 cm) wide.
- From your Interfacing:
- Cut pieces slightly smaller (e.g., 1/2 inch smaller on each side) than all corresponding denim exterior panels (Main Body, Side Panels, Bottom Panel, and Shoulder Strap Bottom Tabs). Also cut for the Main Body Lining and the Optional Interior Pocket.
- Fuse Interfacing: Following the manufacturer’s instructions, fuse the interfacing to the wrong side of all the corresponding denim and lining pieces. Center the interfacing so there’s about a 1/2-inch border of fabric exposed on all sides for the seam allowance. This adds stiffness and body.
3. Prepare Webbing Pieces
- Shoulder Straps: 2 pieces, 30 inches (76 cm) long.
- Top Handle: 1 piece, 12 inches (30 cm) long.
- Roll-Top Buckle Strap: 1 piece, 8 inches (20 cm) long.
III. Step-by-Step Sewing Instructions
Remember to press your seams after each step for a professional finish. Use your denim needle for all denim sections and a walking foot if you have one. Backstitch at the beginning and end of every seam for maximum reinforcement, especially at stress points like straps.
Step 1: Add Exterior Pockets (Optional)
- If adding a patch pocket: Hem the top edge of your Exterior Pocket Panel (fold 1/2″ twice, stitch with heavy-duty thread).
- Center the pocket on the bottom half of the Main Body Exterior Panel. Pin in place.
- Stitch around the sides and bottom of the pocket, very close to the edge. Reinforce the top corners with a small triangle or bar tack stitch for durability.
Step 2: Prepare Shoulder Strap Bottom Tabs
- Take one Shoulder Strap Bottom Tab (3″ x 2″) (with interfacing fused).
- Fold it in half lengthwise, wrong sides together, so it measures 1.5″ x 2″. Press.
- Open it up. Fold each long raw edge into the center crease you just made. Press again.
- Fold the entire strip in half lengthwise once more, enclosing all raw edges. Press firmly. You should now have a strip that is about 0.75 inches (1.9 cm) wide.
- Stitch along both long edges of this strip, close to the folded edges, to secure them.
- Repeat for the second Shoulder Strap Bottom Tab. These will house your adjuster buckles.
Step 3: Prepare Straps and Handle
- Shoulder Straps:
- Take one 30-inch shoulder strap webbing. Thread one end through the center bar of a slider/adjuster buckle. Pull about 2 inches (5 cm) through and fold it back on itself. Stitch it securely to itself, about 1 inch (2.5 cm) from the buckle. This creates the fixed end of the adjuster.
- Repeat for the second shoulder strap and the other slider/adjuster buckle.
- Do not attach the other end of the webbing yet.
- Top Handle: Take the 12-inch webbing piece. Fold 1 inch (2.5 cm) under at each end and press.
- Roll-Top Buckle Strap: Take the 8-inch webbing piece. Thread one end through one half of your side-release buckle. Stitch it back onto itself securely, about 1 inch (2.5 cm) from the buckle.
Step 4: Attach Shoulder Straps and Top Handle to Main Body Exterior
- Lay your Main Body Exterior Panel (30″ x 13″) (with pocket if added) right side up. This is the piece that will form the front, back, and roll-top of your backpack.
- Attach Top Handle: Measure 2.5 inches (6.35 cm) in from the center of one of the 13-inch (width) top edges. Place the ends of the 12-inch top handle webbing here, centering it. The handle loop points downwards onto the panel. Securely stitch the handle ends to the panel within the 1/2-inch (1.27 cm) seam allowance, using a reinforced square-and-X stitch.
- Attach Shoulder Straps (Top): From the same 13-inch top edge, measure 2 inches (5 cm) in from each side. Place the raw (unbuckled) ends of your two 30-inch shoulder straps onto these marks, aligning the raw edges of the webbing with the raw edge of the panel. The strap loops point downwards. Stitch securely within the 1/2-inch (1.27 cm) seam allowance, using a square-and-X stitch. These are the top attachments for your shoulder straps.
- Attach Roll-Top Buckle Strap: From the same 13-inch top edge, measure 6.5 inches (16.5 cm) down from the center. Place the non-buckled end of your 8-inch roll-top buckle strap here, centered. Stitch securely with a square-and-X stitch.
Step 5: Assemble the Exterior Bag Body
- Fold the Main Body Exterior Panel in half lengthwise, right sides together, aligning the two 30-inch side edges. Pin securely.
- Stitch the seam down the entire length of the panel. This forms the main “tube” of your backpack. Press the seam open. This seam will be the center back seam of your backpack.
- Take your Bottom Panel (13″ x 5″) and your two Side Panels (15.5″ x 5″).
- Stitch one Side Panel to each of the 15.5-inch raw edges of the Main Body Exterior Panel. This creates the basic shape of the main compartment. Press seams open.
- Now, stitch the Bottom Panel to the bottom of this assembled “tube.” Align edges carefully, matching centers and corners. Pin liberally and stitch all the way around, using a 1/2-inch (1.27 cm) seam allowance. Go slowly around the corners. This forms the complete exterior shell of your backpack. Press seams open.
- Tip: This is a crucial step for forming the boxy shape. Clip liberally into the seam allowance of the side panels around corners to ease the fabric.
Step 6: Attach Shoulder Straps to Bottom of Backpack
- With the exterior backpack shell turned right side out, turn the bottom of the backpack upwards.
- Take your prepared Shoulder Strap Bottom Tabs (with the adjuster buckles attached to the webbing).
- Measure 2 inches (5 cm) in from each side of the bottom seam. Place the free (non-buckle) end of each webbing strap through its corresponding tab, and then place the tab onto these marks, aligning them with the bottom seam.
- Stitch the tab ends securely to the bottom seam, reinforcing heavily with a square and X stitch. This is a major stress point, so multiple lines of stitching are recommended.
- Now, thread the free end of each 30-inch shoulder strap through the corresponding adjuster buckle on its own strap, creating the adjustable loop. (The webbing goes through the adjuster, then back over itself, then through the fixed end of the adjuster). This is how the strap becomes adjustable.
Step 7: Prepare the Interior Pocket (Optional)
- If adding an interior pocket, take your Interior Pocket Panel (10″ x 12″) (with interfacing fused).
- Fold it in half (wrong sides together) to measure 5″ x 12″. Press.
- Hem the top raw edge (what will be the top of the pocket) by folding 1/2 inch (1.27 cm) down towards the wrong side, pressing, then folding another 1/2 inch and pressing. Stitch this hem in place, close to the inner fold.
- Place this pocket onto the Main Body Lining Panel, centering it horizontally about 4 inches (10 cm) down from what will be the top edge. Pin in place.
- Stitch around the sides and bottom of the pocket, very close to the edge. Reinforce the top corners for durability. You can add vertical stitching to create compartments if desired.
Step 8: Assemble the Lining Bag
- Follow the same steps as for the exterior bag (Step 5) to assemble the Main Body Lining, Side Lining Panels, and Bottom Lining Panel.
- Crucial: Leave a 5-6 inch (12.7-15 cm) opening in the center of the bottom seam of your Bottom Lining Panel. This opening is essential for turning the backpack right side out later. Backstitch securely at the beginning and end of this opening.
Step 9: Combine Exterior and Lining
- Keep the exterior backpack shell turned right side out.
- Keep the lining backpack shell turned inside out.
- Carefully insert the exterior backpack shell into the lining backpack shell, so that the right sides of both bags are facing each other.
- Align the top raw edges of the exterior bag and the lining bag. Make sure all side seams match up. All straps and webbing of the exterior bag should be tucked down between the exterior and lining layers.
- Pin securely all around the top raw edge of the backpack opening.
Step 10: Sew Top Edge and Finish
- Stitch all the way around the top edge of the backpack, using a 1/2-inch (1.27 cm) seam allowance. Backstitch at the beginning and end.
- Clip curves/trim bulk: Clip into the seam allowance around any curves (without cutting stitches) to help the seam lie flat when turned. Trim any excess bulk from the seam allowance, especially where straps are attached.
Step 11: Turn Backpack Right Side Out & Close Opening
- Reach into the opening you left in the bottom seam of the lining (from Step 8).
- Slowly and carefully pull the entire backpack (exterior, lining, straps – everything!) through this opening until it is completely right side out. This can be a tight squeeze, so be patient and gentle.
- Gently push out all the corners and seams with a point turner or a blunt object (like a chopstick) to make them crisp and well-defined.
- Close the Lining Opening: Go to your ironing board. Press the raw edges of the opening in the bottom of the lining under by 1/2 inch (1.27 cm) so they meet neatly. Align these pressed edges and pin or clip them together. Stitch this opening closed by machine (sewing very close to the folded edge for a neat finish) or by hand using an invisible ladder stitch for a truly seamless look.
- Finally, push the lining down into the main backpack, ensuring it sits smoothly inside.
- Give your finished backpack a good final press to remove any wrinkles and make it look crisp.
Step 12: Complete the Roll-Top Closure
- Take the remaining half of your side-release buckle.
- At the top edge of the backpack, about 1 inch (2.5 cm) in from the side seams, fold down the top edge about 1.5 inches (3.8 cm) towards the back.
- Attach the buckle to the top of the backpack, on the side opposite the sewn-on buckle strap from Step 4. You can either sew it directly to the bag or create a small webbing loop to secure it.
- To close, simply roll down the top opening of the backpack a few times until it’s snug, then clip the side-release buckle to secure it.
Congratulations! You’ve successfully sewn a durable and stylish DIY Roll-Top Denim Backpack from Old Jeans! This unique bag is ready for your daily adventures, showing off your crafting skills and commitment to upcycling.
What’s your favorite feature of your new denim backpack?


