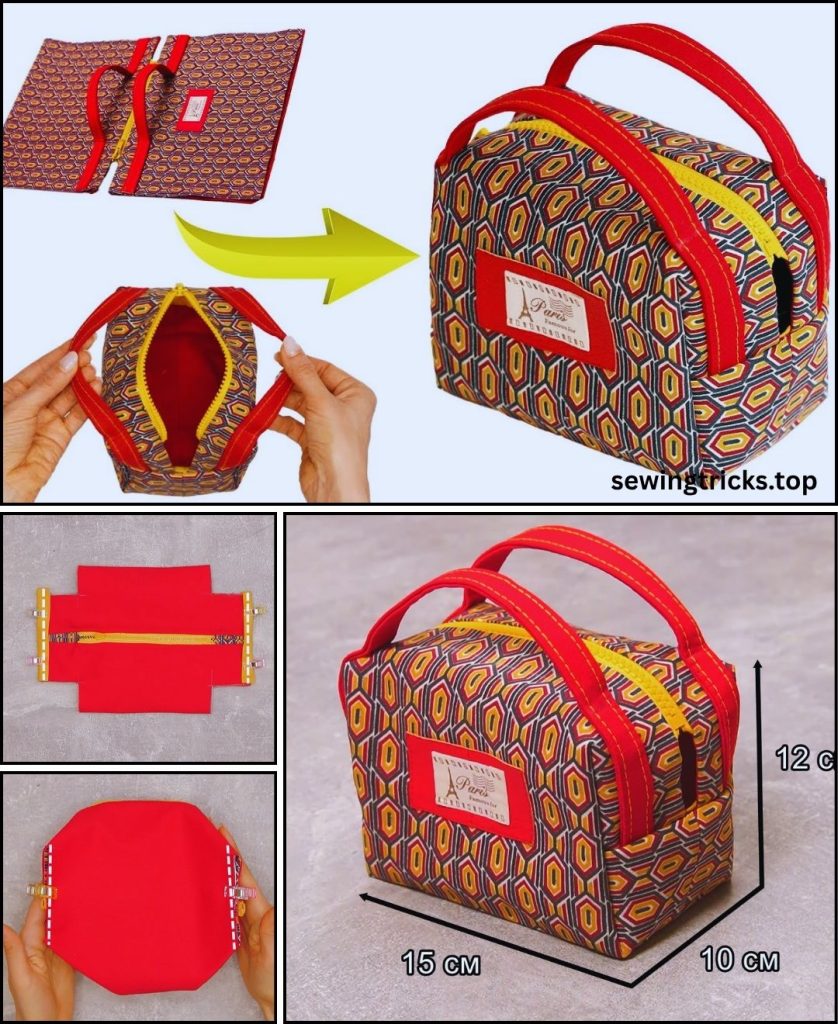
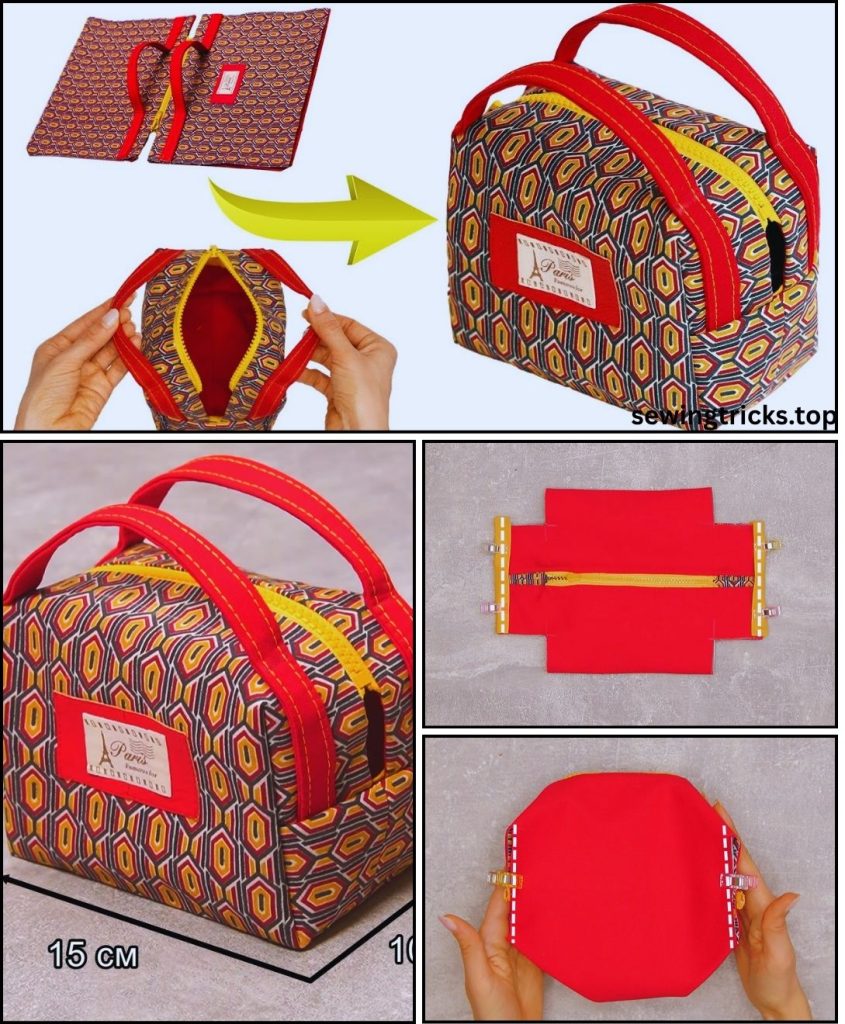
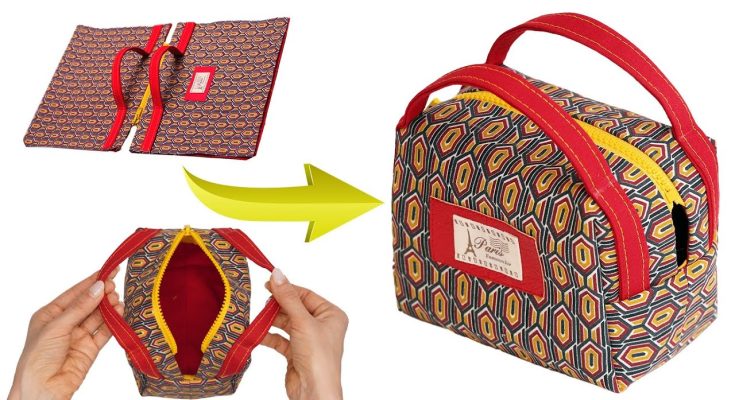
Here is a detailed tutorial on how to sew a simple makeup bag, written specifically for absolute beginners. We will break down every single step, explain the “why” behind the techniques, and ensure you finish with a project you can be proud of.
Sew Your Own Makeup Bag: The Ultimate Beginner’s Tutorial
Welcome to the wonderful world of sewing! If you’re looking for the perfect first project, you’ve found it. A simple zippered makeup bag is incredibly rewarding to make. It teaches you fundamental skills like sewing straight lines, installing a zipper (it’s easier than you think!), and finishing a project neatly. By the end of this tutorial, you’ll not only have a beautiful, custom makeup bag but also the confidence to tackle more sewing adventures.
This guide is designed to be the simplest way possible. We won’t use a complicated paper pattern; instead, we’ll cut simple rectangles. Let’s get started!

Part 1: Gathering Your Materials & Tools
Before we can sew, we need to gather our supplies. Having everything ready will make the process smooth and enjoyable.
Fabric & Essentials:
- Outer Fabric (Main Fabric): This is the fabric you’ll see on the outside of the bag.
- Recommendation for Beginners: Choose a medium-weight, non-stretchy cotton fabric. Quilting cotton is absolutely perfect. It’s stable, easy to press, and comes in countless beautiful designs.
- Amount Needed: You’ll need two rectangular pieces. A “fat quarter” (a pre-cut piece of fabric, usually 18″×22″) is more than enough.
- Lining Fabric: This is the fabric for the inside of the bag.
- Recommendation for Beginners: Again, quilting cotton is ideal. You can choose a fabric that coordinates with your outer fabric or a fun, contrasting print.
- Amount Needed: Same as the outer fabric. A fat quarter will suffice.
- Fusible Interfacing: This is the secret ingredient! Interfacing is a material you iron onto the back of your fabric to give it more structure and body. It prevents the bag from being flimsy.
- Recommendation for Beginners: Choose a light to medium-weight fusible (iron-on) interfacing, like Pellon SF101 Shape-Flex.
- Amount Needed: Enough to match your outer fabric pieces.
- All-Purpose Zipper:
- Recommendation for Beginners: A standard nylon, all-purpose zipper. Pro Tip: Get a zipper that is a few inches longer than the width of your bag. For this project, a 12″ or 14″ zipper is perfect. It might seem counterintuitive, but a longer zipper is much easier to work with as a beginner because you don’t have to navigate around the bulky metal zipper pull and stop.
- All-Purpose Sewing Thread: Choose a thread that matches or contrasts with your outer fabric. Polyester thread is a strong, all-purpose choice.
Tools of the Trade:
- Sewing Machine: Any basic sewing machine that can do a straight stitch will work perfectly. Make sure you have the standard presser foot and a zipper foot.
- Iron & Ironing Board: Sewing is as much about pressing as it is about stitching. A hot iron is non-negotiable for a professional-looking finish.
- Fabric Scissors or Rotary Cutter & Mat: Use sharp scissors designated only for fabric to ensure clean cuts. A rotary cutter and self-healing mat are fantastic for cutting perfectly straight lines but are not strictly necessary.
- Clear Ruler or Measuring Tape: For measuring and cutting your fabric accurately.
- Pins or Sewing Clips: To hold your fabric pieces together while you sew. Clips are often easier to use and don’t leave holes.
- Seam Ripper: Your new best friend! Everyone makes mistakes, and a seam ripper allows you to easily undo stitches without damaging your fabric.
Part 2: The “Pattern” – Measuring & Cutting Your Pieces
We are making a simple rectangular pouch. Let’s create a bag that is approximately 9″×6″ when finished.
Using your ruler and scissors (or rotary cutter), cut the following pieces:
- From your Outer Fabric: Cut TWO (2) pieces, each measuring 10″ wide×7″ tall.
- From your Lining Fabric: Cut TWO (2) pieces, each measuring 10″ wide×7″ tall.
- From your Fusible Interfacing: Cut TWO (2) pieces, each measuring 10″ wide×7″ tall.
Beginner Tip: Accuracy is key! Take your time measuring. “Measure twice, cut once” is a classic for a reason. Make sure all four of your fabric pieces are the same size.

Part 3: Preparation – The Key to a Great Finish
This step is crucial for giving your bag a sturdy, high-quality feel.
Applying the Interfacing:
- Take your two outer fabric pieces and lay them on your ironing board with the wrong side (the non-printed, duller side) facing up.
- Take your two interfacing pieces. One side will be smooth, and the other will have bumpy dots of glue. This bumpy side is the fusible side.
- Place one piece of interfacing on top of one piece of outer fabric, with the bumpy glue side facing down onto the wrong side of the fabric.
- Set your iron to the setting recommended for your fabric (usually cotton setting, no steam).
- Press the iron onto the interfacing. Don’t slide the iron around like you’re ironing a shirt. Instead, press down firmly in one spot for 10-15 seconds, then lift the iron and move it to the next spot, overlapping slightly. This ensures the glue melts evenly and adheres properly.
- Repeat for the second outer fabric piece. Your outer pieces should now feel a bit stiffer and more substantial.
Part 4: The Main Event – Let’s Start Sewing!
Take a deep breath. This is the fun part! We’ll take it one step at a time. For this entire project, we will use a seam allowance of approximately 3/8″. A seam allowance is the distance from the edge of the fabric to your line of stitching.
Step 1: Installing the Zipper (The “Zipper Sandwich”)
This is the part that scares most beginners, but our “sandwich” method makes it foolproof.
- Make the First Half of the Sandwich:
- Bottom Layer: Place one of your outer fabric pieces on your work surface, right side facing up.
- Middle Layer: Place your zipper on top of the outer fabric, with the zipper teeth facing down. The top edge of the zipper tape should align with the top raw edge of the fabric. The zipper pull should be on the left side.
- Top Layer: Place one of your lining fabric pieces on top of the zipper, right side facing down. Align its top raw edge with the zipper and the outer fabric.
- You should now have a “sandwich”: Lining (right side down), Zipper (teeth down), Outer Fabric (right side up). Pin or clip these three layers together along the top edge.
- Sew the First Side:
- Attach the zipper foot to your sewing machine. A zipper foot allows you to stitch very close to the zipper teeth without the foot getting in the way.
- Position your fabric sandwich under the zipper foot and sew a straight stitch along the top edge, as close to the zipper teeth as you comfortably can. Remember to backstitch (sew backward a few stitches and then forward again) at the beginning and end of your seam to lock the stitches in place.
- Press and Topstitch:
- Take your piece from the machine and open it up. Fold the lining and outer fabric away from the zipper, so their wrong sides are together.
- Take it to your ironing board and press the fabric away from the zipper teeth to create a crisp edge.
- Topstitch: This is an optional but highly recommended step for a professional look. It also keeps the lining from getting caught in the zipper later. Switch back to your standard presser foot. Sew a straight line on the outer fabric, about 1/8″ away from the zipper seam.
- Make and Sew the Second Half:
- Now we repeat the process for the other side.
- Bottom Layer: Place your remaining outer fabric piece down, right side facing up.
- Middle Layer: Place the half-finished zipper piece on top, with the zipper teeth facing down, aligning the unsewn edge of the zipper tape with the top edge of this new outer piece.
- Top Layer: Place your remaining lining fabric piece on top, right side facing down.
- Pin or clip these layers together.
- Using your zipper foot, sew this second side of the zipper.
- Just like before, open it up, press the fabrics away from the zipper, and topstitch along the second side.
You did it! The hardest part is over. You should now have a flat panel with the zipper in the middle, outer fabric on one side and lining on the other.

Step 2: Assembling the Bag Body
- CRITICAL STEP: OPEN THE ZIPPER! Reach in and open the zipper at least halfway. If you forget this step, you will not be able to turn your bag right-side out later.
- Lay your project flat. Unfold it and rearrange it so that the two outer fabric pieces are right sides together, and the two lining fabric pieces are right sides together.
- The zipper should be in the middle. Pinch the ends of the zipper and push the teeth towards the lining side. This helps create a neater finish.
- Pin or clip all the way around the entire rectangle. Make sure the seams where the fabric meets the zipper line up perfectly on both sides.
Step 3: Sewing the Perimeter
- Switch back to your standard presser foot.
- We are going to sew all the way around the perimeter, but with one very important exception. We need to leave a hole for turning the bag right-side out.
- Start sewing on the bottom edge of the lining fabric. Sew a few inches, backstitch, then sew towards the corner.
- Continue sewing all the way around the entire rectangle, pivoting at the corners. When you get to the zipper, sew slowly right over the zipper tape (your machine can handle it).
- When you get back to the bottom of the lining, stop sewing about 4 inches away from where you started. Backstitch to secure your stitches. This 4-inch unsewn section is your turning gap.
Part 5: Finishing Touches – The Magic Reveal!
This is where your project transforms from a flat piece of fabric into a bag.
- Clip the Corners: Trim the fabric at all four corners, cutting diagonally close to, but not through, your stitching. This removes bulk and will give you sharp, crisp corners when you turn the bag. You can also trim the excess zipper tape that extends beyond the fabric.
- Turn the Bag Right-Side Out: This is the magic moment. Gently reach into the turning gap you left in the lining. Grab the outer fabric and begin pulling the entire bag through the hole. Be patient and gentle.
- Poke Out the Corners: Once the bag is turned out, the lining will be on the outside. Use a blunt tool like a chopstick, a knitting needle, or a special point-turner to gently poke out all four corners of the bag so they are nice and square.
- Close the Gap: Find the turning gap in the lining. Tuck the raw edges of the fabric into the hole, so they are aligned with the sewn seam. Press it flat with your iron.
- Easiest Method (Machine): Sew a straight line very close to the folded edge to close the hole. Since this will be inside the bag, no one will see it!
- Invisible Method (Hand): For a completely hidden seam, you can close the gap using a hand-sewing needle and a ladder stitch.
- The Final Step: Push the lining down inside the outer bag. Use your fingers to get it situated nicely in the corners. Take your beautiful new bag to the ironing board for one final, thorough press.
Congratulations! You have just sewn your very own makeup bag! Zip it up and down, admire your straight stitches, and give yourself a pat on the back. You’ve learned how to prepare and cut fabric, apply interfacing, install a zipper, pivot corners, and finish a project from start to finish. These are the building blocks for countless other amazing sewing projects to come.


