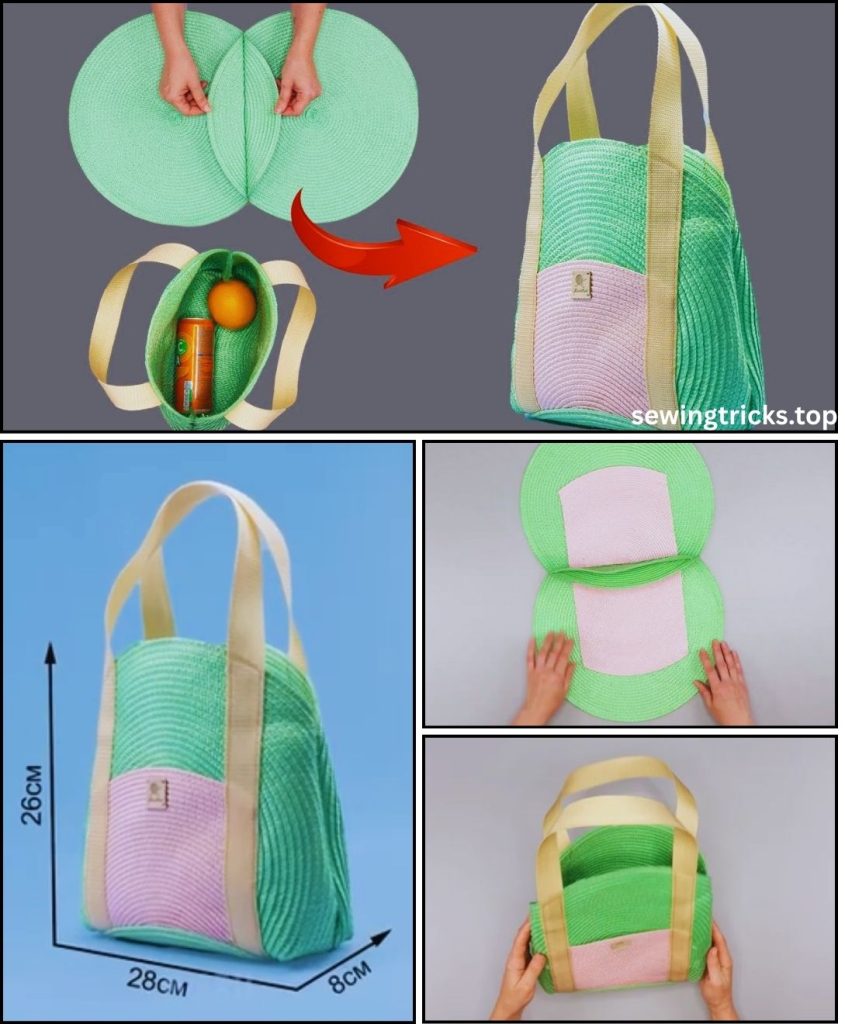
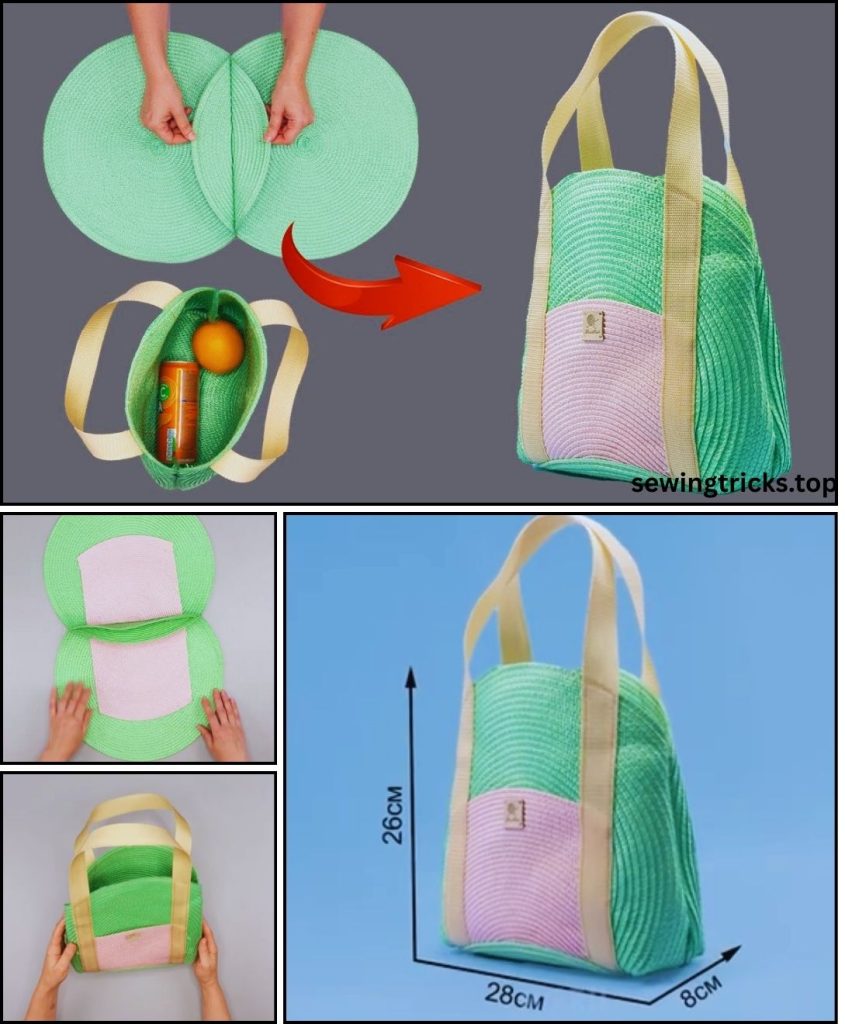
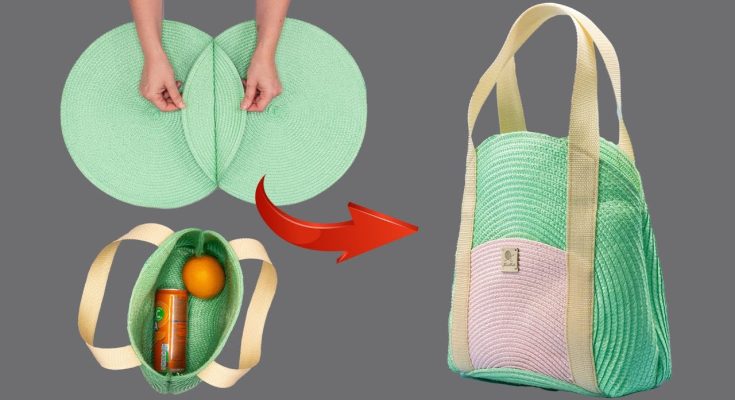
Sewing a “5-Minute Summer Bag” requires the simplest possible design and minimal stitching. To achieve this speed, we will bypass steps like adding a lining, interfacing, and complex closures. We will focus on a simple French Seam Drawstring Pouch made from lightweight cotton fabric, perfect for holding beach essentials, sunscreen, or a book.
The key to the “5-minute” claim is having your fabric pre-cut and using a French seam for a quick, clean finish without needing a serger or zigzag stitch.

The Ultimate Guide: How to Sew a “5-Minute” Summer Tote Bag
Welcome to the simplest, fastest, and most satisfying sewing project you’ll undertake this summer! We call this the “5-Minute Summer Bag.” Now, is it literally five minutes? For a seasoned sewist with everything prepped, maybe! For a beginner, it might be closer to 20-30 minutes, but the name captures the spirit of the project: it’s incredibly fast, requires minimal materials, and the result is a functional, chic tote bag you can use immediately.
This tutorial is designed for the absolute beginner. We will go through every step in detail, from choosing your fabric to the final press of the iron. Forget complicated patterns with darts and zippers; this bag’s “pattern” is simply two rectangles. Let’s get started!
Why You’ll Love This Project
- Incredibly Beginner-Friendly: If you can sew a straight line, you can make this bag.
- Minimal Supplies: You don’t need a long, expensive list of materials.
- Highly Customizable: Change the fabric, adjust the size, or vary the strap length to make it uniquely yours.
- Instant Gratification: You’ll go from fabric pieces to a finished product in under an hour, providing a wonderful sense of accomplishment.
- Super Practical: It’s the perfect bag for the farmers’ market, the beach, the library, or as a reusable shopping tote.
The “Pattern” Explained: It’s Just Rectangles!
The beauty of this bag lies in its simplicity. The pattern consists of only two identical pieces of fabric.
- Bag Body: Two (2) rectangular pieces of fabric.
- Straps: Two (2) pieces of pre-made webbing or fabric strips.
A great starting size for a versatile tote is:
- Bag Body Rectangles: 18 inches tall×16 inches wide (46 cm×41 cm)
- Straps: Two pieces, each 24 inches (61 cm) long. This length is comfortable for carrying over the shoulder. Feel free to adjust this by measuring a favorite bag you already own.
Materials & Tools Checklist
Gather your supplies before you begin to make the process smooth and enjoyable.
Essential Materials:
- Fabric: You will need about 21 a yard (or 21 a meter) of a sturdy, non-stretch fabric. Great choices include:
- Canvas or Duck Cloth: The gold standard for tote bags. It’s durable, holds its shape, and is easy to sew.
- Denim: Upcycle an old pair of jeans or use new denim for a classic, rugged look.
- Home Decor Fabric: Often weightier than apparel fabric, it comes in beautiful prints and is designed for durability.
- Quilting Cotton: A good option, but it is lighter. For a sturdier bag, consider using two layers or applying a fusible interfacing to the back of your fabric pieces before you start.
- Straps (Webbing): For the absolute simplest method, use pre-made webbing.
- Material: Cotton or polypropylene webbing.
- Width: 1 inch to 1.5 inches (2.5 cm to 3.8 cm) is ideal.
- Length: You’ll need about 1.5 yards or (1.4 meters) to get two 24-inch straps.
- All-Purpose Thread: Choose a color that matches your fabric or a contrasting color for a pop of style. Polyester thread is a strong, all-around choice.
Essential Tools:
- Sewing Machine: This project is designed for a machine. Make sure it’s threaded and has a universal needle (size 80/12 or 90/14 is perfect for canvas).
- Fabric Scissors or a Rotary Cutter & Mat: For cutting clean, straight lines.
- Ruler or Measuring Tape: A clear acrylic ruler is especially helpful.
- Iron and Ironing Board: This is not optional! Pressing your seams is the secret to making a homemade project look professional.
- Pins or Sewing Clips: To hold your fabric pieces together while you sew.
- Seam Ripper: Your best friend for correcting any mistakes. No one is perfect!

Step-by-Step Sewing Instructions
Let’s break down the process into simple, manageable steps. Read through all the steps once before you begin.
Step 1: Cut Your Fabric
Precision here will make the rest of the process much easier.
- Lay your fabric flat on your work surface.
- Using your ruler and scissors (or rotary cutter), carefully cut two identical rectangles for the bag body. For our example, this will be two pieces, each measuring 18 inches×16 inches.
- Cut your webbing into two identical strap pieces. For our example, this is two pieces, each 24 inches long. If using polypropylene webbing, you can gently melt the cut ends with a lighter to prevent fraying (do this carefully in a well-ventilated area).
Step 2: Prepare the Top Hem
This creates a clean, finished top edge for your bag.
- Take one of your rectangular fabric pieces and place it on your ironing board with the wrong side (the less vibrant side) facing up.
- Fold the top edge (one of the 16-inch sides) down by 21 inch (1.25 cm) and press it flat with your hot iron.
- Now, fold that same edge down again, this time by 1 inch (2.5 cm). This will encase the raw edge. Press it firmly.
- Repeat this entire process for the second rectangular fabric piece. You should now have two pieces with neatly pressed top hems.
(Conceptual Diagram)
Step 3: Position and Pin the Straps
This is the most crucial step to get right. Pay close attention to the placement.
- Take one of your bag pieces. Unfold the 1-inch hem you just pressed, but leave the first 21-inch fold in place.
- Take one strap. Place one end of the strap underneath the unfolded hem, positioning it about 3 inches (7.5 cm) in from the side edge of the bag. The raw edge of the strap should be tucked up against the fold.
- Crucially, the strap should be pointing DOWN, towards the bottom of the bag. It will look “upside down,” but this is correct!
- Pin the strap securely in place.
- Take the other end of the same strap and place it under the hem on the other side, also measuring 3 inches in from the edge. Make sure the strap is not twisted! It should form a smooth “U” shape. Pin it in place.
- Repeat this process for the second bag piece with the second strap.
(Conceptual Diagram)
Step 4: Sew the Top Hem and Secure the Straps
- Fold the 1-inch hem back down over the strap ends, just as you had it pressed. The straps will now be sandwiched inside the hem. Pin everything securely.
- Take the piece to your sewing machine. Stitch along the bottom edge of the folded hem, about 81 inch (3 mm) from the edge. Sew all the way across from one side to the other.
- Remember to backstitch at the beginning and end of your seam to lock the stitches in place.
- For extra durability, you can also sew a second line of stitches along the very top edge of the bag.
- Repeat for the second bag piece. Now you have two identical panels, each with a strap attached.

Step 5: Assemble the Bag Body
Now we turn the two flat panels into a three-dimensional bag.
- Place your two bag panels on top of each other with the RIGHT SIDES TOGETHER. This means the straps should be on the inside, sandwiched between the fabric layers.
- Carefully align the side edges and the bottom edge. The top hems should match up perfectly.
- Pin or clip the fabric together along the two sides and the bottom. Leave the top edge completely open.
- Using your sewing machine, sew down the first side, across the bottom, and up the second side in one continuous seam. Use a seam allowance of 21 inch (1.25 cm).
- Pivot at the corners: sew down to the corner, stop with the needle down in the fabric, lift the presser foot, turn the fabric 90 degrees, lower the presser foot, and continue sewing.
- Don’t forget to backstitch at the start and end of this long seam!
Step 6: Finishing Touches
- (Optional but Recommended) Finish the Seams: To prevent the inside raw edges from fraying over time, use a zigzag stitch on your machine to sew along the raw edges of the seam allowance you just created. If you have pinking shears, you can also trim the edges with those. This gives your bag a longer life and a more professional finish.
- Clip the Corners: Carefully snip off the two bottom corners of the seam allowance, being careful not to cut your stitches. This helps create sharp, crisp corners when you turn the bag out.
- The Big Reveal: Reach inside the bag and turn it right-side out! Use a blunt object like a chopstick or a point turner to gently poke out the corners so they are nice and square.
- Final Press: Give the entire bag a good, final press with your iron. Pay special attention to the side seams and the top edge. This will set the seams and give your bag a crisp, finished look.
Congratulations! You have just sewn your very own summer tote bag!
Customization Ideas (Beyond the 5-Minute Mark)
Once you’ve mastered the basic bag, try these simple variations:
- Add a Simple Pocket: Before sewing the two main panels together (after Step 4), cut a smaller rectangle of fabric (e.g., 7 inches×6 inches). Press the edges under by 41 inch, then center it on the right side of one of your main bag panels and stitch it in place along three sides, leaving the top open.
- Boxed Corners: To give your bag a flat bottom and more volume, pinch each bottom corner after Step 5 (while the bag is still inside out). Align the side seam with the bottom seam to form a triangle. Sew a straight line across the triangle, about 1.5 inches from the tip. This will create depth.
- Fabric Straps: Instead of webbing, cut two long fabric strips (e.g., 24 inches×4 inches). Fold them in half lengthwise and press. Open them up, fold the raw edges into the center crease, press again, and then topstitch along both long edges to create sturdy, matching straps.
- Add a Lining: Create a second, identical bag from a lighter-weight lining fabric (like simple cotton). Place the lining bag inside the outer bag (wrong sides together), fold the top raw edges in, and topstitch them together to create a fully lined, professional-looking tote.
To close the bag, pull both knots simultaneously! Your “5-Minute Summer Bag” is ready!


