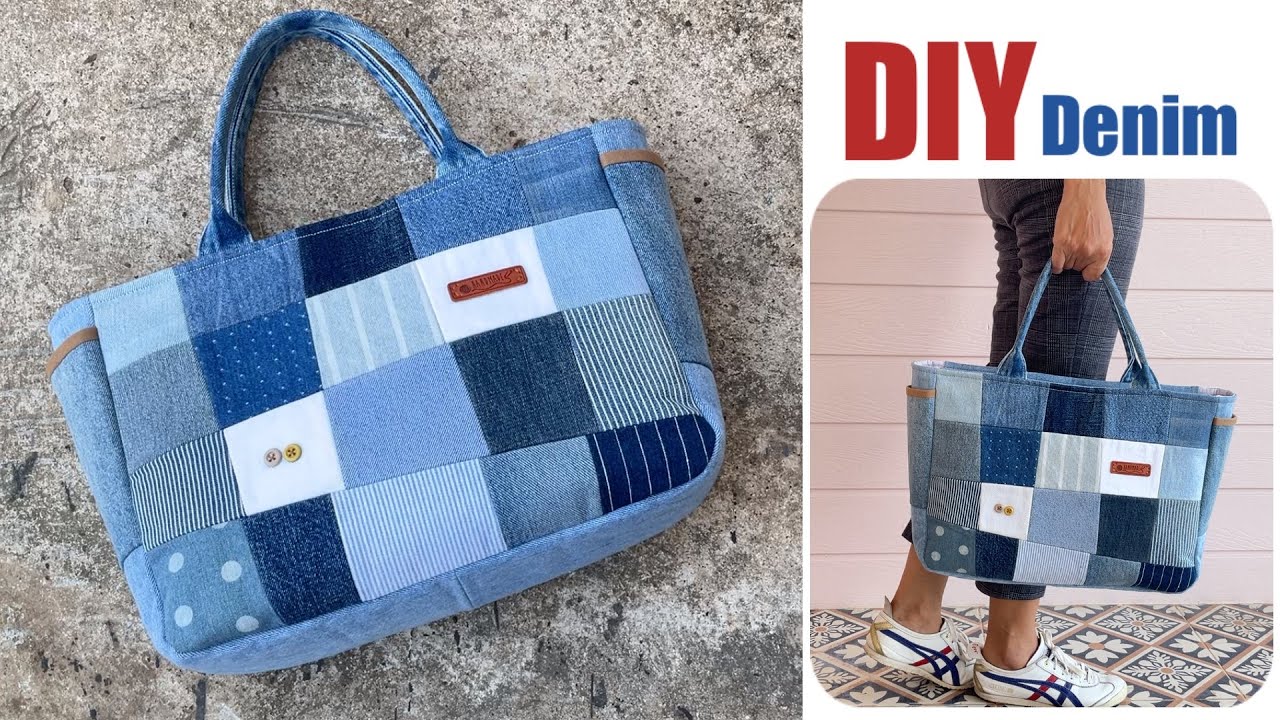
Sewing a denim patchwork zipper tote bag is an excellent way to create a sturdy, stylish, and highly customized accessory while sustainably repurposing old jeans. The patchwork technique allows you to use up various denim scraps, and the zipper closure makes the bag secure for daily use.
This detailed tutorial will guide you through creating a durable, structured tote bag with a secure zippered top and a flat, boxed bottom. We’ll aim for a finished size of approximately 15 inches wide, 12 inches tall, and 4 inches deep.
I. Planning & Gathering Your Materials
Careful preparation is the foundation for a professional-looking patchwork bag.
- Old Jeans/Denim Scraps:
- Quantity: You’ll need enough scraps from different washes (light, medium, dark) to piece together four panels (two exterior, two zipper tabs).
- Preparation: Wash, dry, and iron all denim scraps. Deconstruct them by unpicking seams to get the flattest pieces possible.
- Lining Fabric:
- Quantity: Approximately 1 yard of a durable woven cotton.
- Preparation: Wash and iron.
- Interfacing/Stabilizer (Crucial for Structure):
- Type: Heavy-weight fusible stabilizer (e.g., Pellon 809 Decor Bond) for the exterior panels, and medium-weight fusible interfacing (e.g., Pellon SF101) for the lining and zipper tabs.
- Quantity: About 1 yard of each type.
- Zipper:
- Type: A sturdy nylon zipper, at least 18 inches long.
- Webbing for Handles:
- Type: Cotton or polypropylene webbing, 1 inch wide.
- Quantity: Two pieces, each 26 inches long.
- Thread:
- All-purpose thread: For piecing patchwork and general seams.
- Heavy-duty/Topstitching thread: In a contrasting color (e.g., gold or bright yellow) for all visible stitching.
- Basic Sewing Tools: Sewing machine with a denim needle (size 16 or 18), zipper foot, rotary cutter and mat, ruler, fabric marker, and plenty of fabric clips (denim gets too thick for pins).

II. Step-by-Step Sewing Instructions
We will use a 1/4-inch seam allowance for piecing the patchwork and a 1/2-inch seam allowance for assembling the bag.
1. Create and Stabilize the Patchwork Panels
- Piece the Scraps: Lay out your denim scraps and stitch them together, right sides facing, using a 1/4-inch seam allowance. Press all seams open to reduce bulk.
- Form the Panels: Continue piecing until you have two panels, each at least 16 inches wide by 13 inches tall. Trim them neatly to this size.
- Cut Lining & Tabs:
- Lining Panels: Cut two pieces, 16 inches wide by 13 inches tall.
- Zipper Tab/Facing: Cut two pieces, 16 inches wide by 2 inches tall.
- Fuse Interfacing: Fuse the heavy-weight stabilizer to the wrong side of your two patchwork panels. Fuse the medium-weight interfacing to the wrong side of your two lining panels and two zipper tabs.
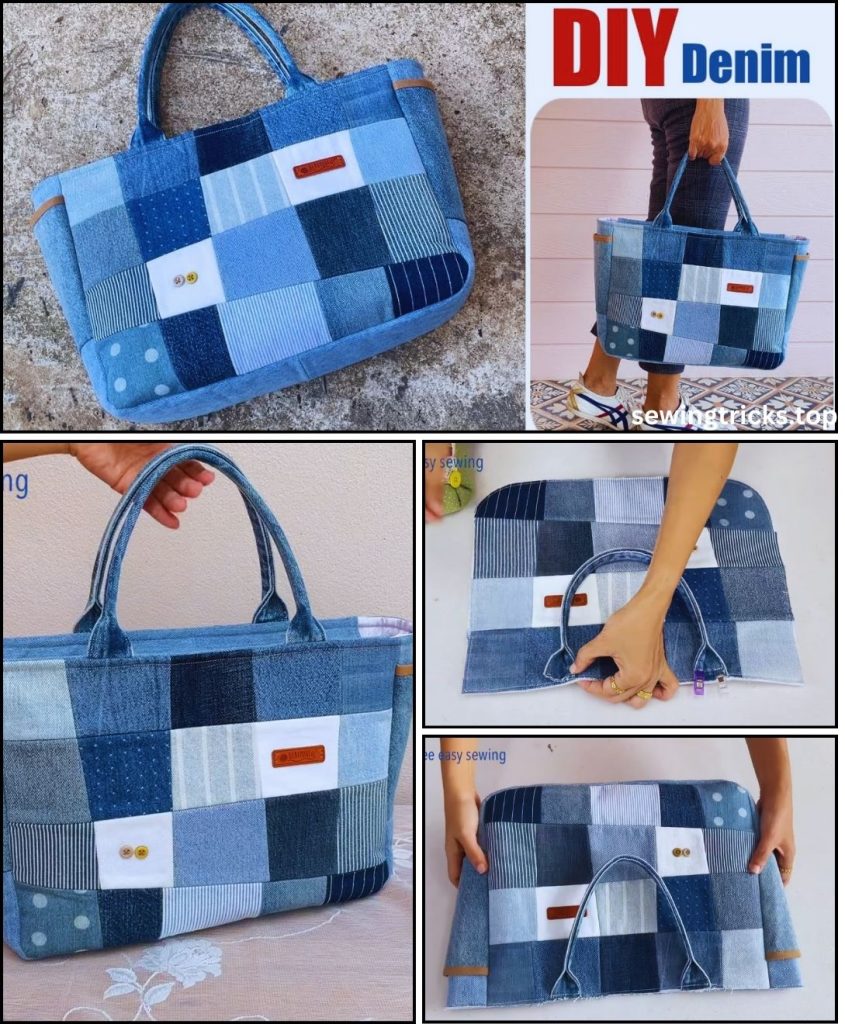
2. Attach Handles
- Take one of your patchwork panels and measure 4 inches in from each side edge along the top raw edge. Mark these points.
- Place the raw ends of one webbing handle onto these marks.
- Stitch the handle in place with a strong box stitch with an “X” inside it, reinforcing it securely within the 1/2-inch seam allowance.
- Repeat for the second handle on the second patchwork panel.
3. Install the Zipper
- Prep the Zipper Side: Lay one patchwork panel right side up (handles down). Place the zipper right side down along the top edge, aligning the raw edges. Pin/clip in place.
- Add the Facing: Place one zipper tab/facing piece (medium-weight interfaced fabric) right side down on top of the zipper/patchwork sandwich. Pin all layers.
- Sew: Using your zipper foot, stitch all layers together along the top edge. Flip the fabric over so the tab and zipper pull away from the patchwork, and press the seam. Topstitch along the seam line for a clean finish.
- Repeat: Repeat this process for the other side of the zipper, attaching it to the second patchwork panel and the second zipper tab. Open the zipper halfway before the next step.
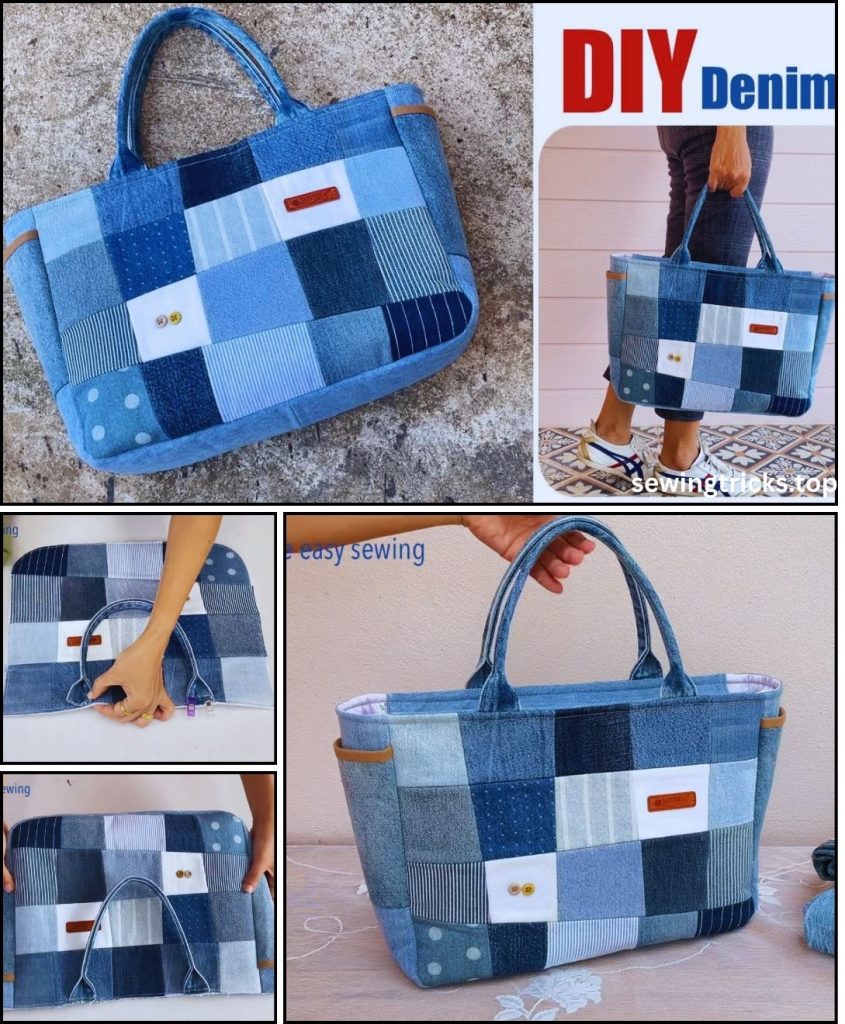
4. Assemble the Exterior Bag
- Fold the bag so the two patchwork panels are right sides together. The zipper will form the top seam.
- Pin the three remaining raw edges (the two sides and the bottom).
- Sew the side seams and the bottom seam with a 1/2-inch seam allowance.
- Create Boxed Corners: To create the flat bottom, measure a 2-inch square from the bottom corner tip. Cut out this square. Pinch the bottom seam and side seam together, aligning them so the raw edges of the cutout square meet. Pin and sew with a 1/2-inch seam allowance. Repeat for the other corner.
5. Assemble the Lining Bag
- Place the two lining panels right sides together. Sew the side seams and the bottom seam with a 1/2-inch seam allowance.
- Create boxed corners exactly as you did for the exterior bag.
- Crucially, leave a 6-inch opening in the middle of the bottom seam. This is for turning the bag right side out.
6. Combine and Finish the Bag
- Turn the denim exterior bag right side out.
- Keep the lining bag inside out.
- Carefully insert the exterior bag into the lining bag so that their right sides are facing each other. Align the side seams and the zipper tape seams. Pin/clip securely all the way around the top.
- Stitch all the way around the top with a 1/2-inch seam allowance.
- Turn and Close: Pull the entire bag right-side out through the opening in the lining’s bottom. Push out the corners and seams. Press the seam allowances of the lining opening under and stitch it closed by hand or with your machine.
- Push the lining into the bag and give the entire bag a final press.
Congratulations! You have successfully created a durable, custom-designed denim patchwork zipper tote bag.