
Upcycle Old Jeans Into a Strong, Stylish Tote Bag — Full Sewing Pattern & Step-By-Step Instructions
Old jeans are one of the best materials for sewing DIY projects. They’re durable, naturally stylish, and already faded in beautiful ways, giving every handmade bag a unique look. A tote bag made from old denim jeans is not only eco-friendly but also strong enough for daily use—groceries, books, laptops, and more.
This tutorial will guide you through drafting your pattern, cutting denim pieces from old jeans, sewing sturdy handles, lining the bag, adding pockets, and creating a professional, shop-quality finish.
⭐ WHAT YOU WILL NEED
Fabric & Materials
- Old jeans (1–2 pairs depending on size)
- Cotton or canvas lining (½ yard / 45 cm)
- Interfacing (optional): medium-weight fusible for structure
- Thread: polyester or heavy jeans thread
- Needles: 90/14 or 100/16 denim needle
- Straps: denim, webbing, or leather (optional)
- Pins or sewing clips
- Sewing machine
- Iron & pressing tools
Optional Add-Ons
- Magnetic snap or zipper closure
- Inner zipper pocket
- Decorative stitching
- Jeans labels, patches, rivets
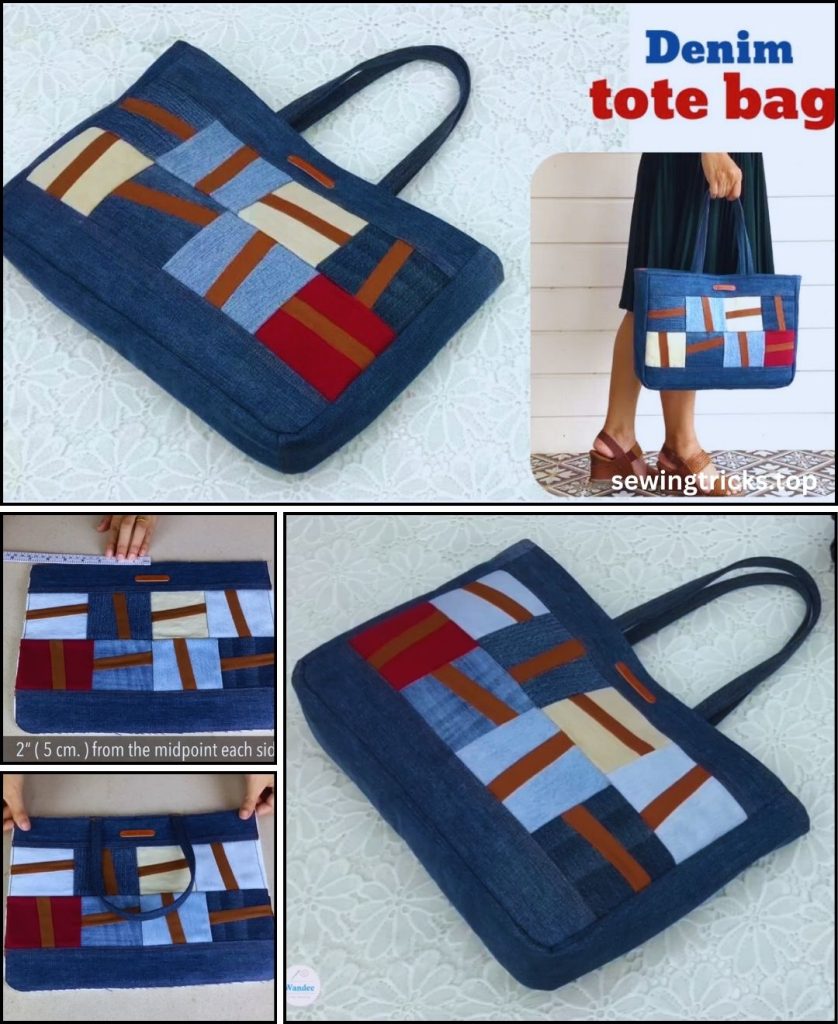
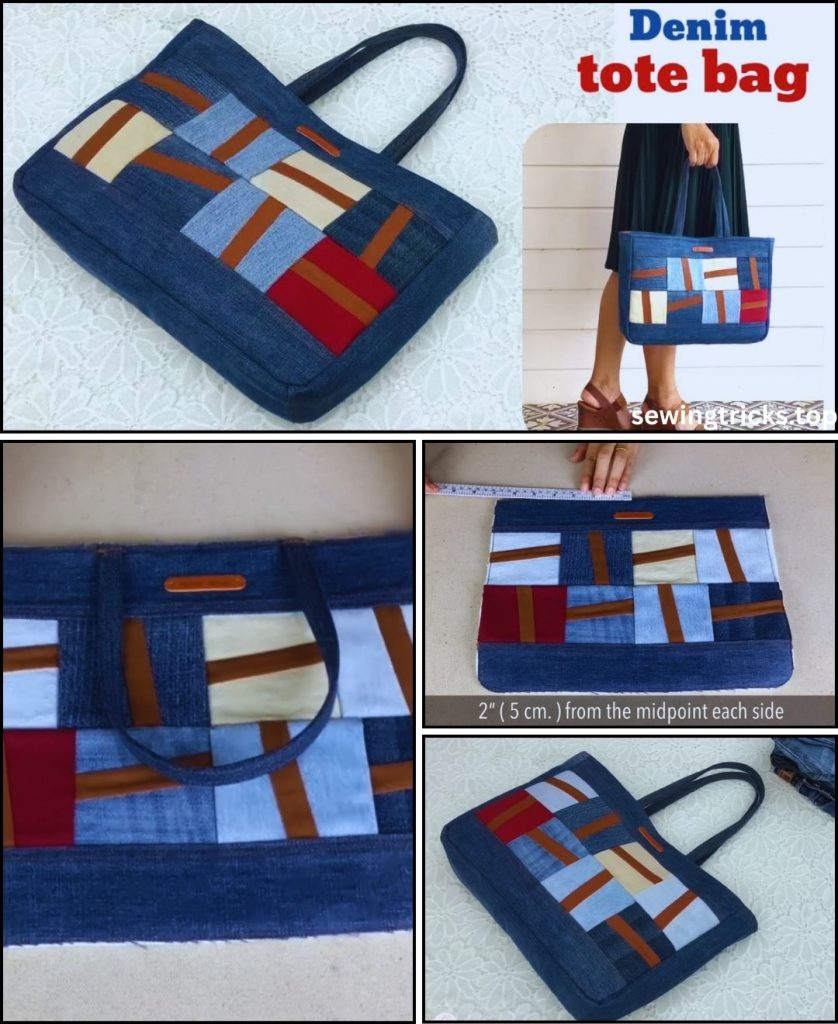
🧵 FINISHED SIZE OF THIS TOTE BAG
15″ wide × 14″ tall × 4″ deep
Perfect everyday medium tote.
You can scale the pattern as needed.
✂️ CUTTING PATTERN (WITH MEASUREMENTS)
From denim:
1. Main Bag Panels
Cut 2 rectangles:
- 16″ wide × 16″ tall (40.5 cm × 40.5 cm)
These will be boxed at the bottom to create depth.
2. Tote Straps (if made from denim)
Cut 2 strips:
- 4″ wide × 25–28″ long (10 cm × 64–71 cm)
You can adjust length to preference.
3. Outer Pocket (Optional)
Use the back pocket from your old jeans, or cut a denim square:
- 8″ × 8″ (20 × 20 cm)
From lining fabric:
4. Lining Panels
Cut 2 rectangles:
- 16″ × 16″ (same as main panels)
5. Inner Pocket (optional)
Cut 1 rectangle:
- 8″ × 10″ lining fabric
From interfacing (optional but recommended):
- 2 pieces, 16″ × 16″
- 2 strap strips, 4″ × length of straps
🪡 STEP-BY-STEP SEWING INSTRUCTIONS
STEP 1 — PREPARE AND PRESS THE DENIM
- Cut open the jeans: remove side seams, inner leg seams, waistband, etc.
- Flatten pieces and press well.
- Avoid bulky seam lines unless you want them as a design feature.
- (Optional) Fuse interfacing to wrong side of the denim for structure.
STEP 2 — MAKE THE STRAPS
If using denim:
- Take each strap piece (4″ × 25–28″).
- Fold long edges toward the center.
- Fold again lengthwise to form a 1″ wide strap.
- Press firmly.
- Stitch down both long sides with a long topstitch (3–3.5 mm).
- Add a second decorative row if desired (classic jeans style).
If using canvas webbing or leather straps, skip sewing and prepare the length.
STEP 3 — ADD OUTER POCKET (OPTIONAL BUT HIGHLY RECOMMENDED)
Using a jeans pocket:
- Cut the pocket neatly from the jeans.
- Place the pocket on one denim panel—centered or offset.
- Pin and topstitch around edges.
- Reinforce top corners with tiny triangles or bar tacks.
Using a denim square:
- Fold top edge ½” down twice to hem.
- Sew hem.
- Place pocket on bag front and topstitch around sides/bottom.
STEP 4 — ATTACH THE STRAPS TO THE MAIN PANELS
- Lay one denim panel right-side up.
- Measure 4″ in from each side for strap placement.
- Place the straps with ends 2″ from the top edge.
- Make sure straps are not twisted.
- Pin securely.
- Sew straps with a box-and-X reinforcement stitch for strength:
- Sew a square
- Then sew a diagonal “X” inside
This prevents straps from pulling out even with heavy loads.
Repeat for the second panel.
STEP 5 — SEW THE OUTER BAG
- Place the two denim panels right sides together.
- Pin or clip around.
- Sew sides and bottom only, using ½” seam allowance.
- Leave the top completely open.
Press seams open for a flatter finish.
STEP 6 — CREATE BOXED CORNERS (4″ DEPTH)
- Open the bottom corner.
- Match side seam to bottom seam to form a triangle.
- Measure 2″ from the tip (this creates 4″ depth).
- Draw a straight horizontal line.
- Sew across the line.
- Trim off the triangle leaving ½” seam allowance.
Repeat for the other corner.
Your bag now has a flat rectangular base.
STEP 7 — SEW THE LINING
Follow the same steps as the outer bag:
- Sew sides and bottom.
- BUT leave a 5–6″ turning gap along the bottom seam.
- Box the corners the same way.
Optionally: Add an inner pocket by folding your 8″ × 10″ piece, hemming the top, placing, and stitching around sides.
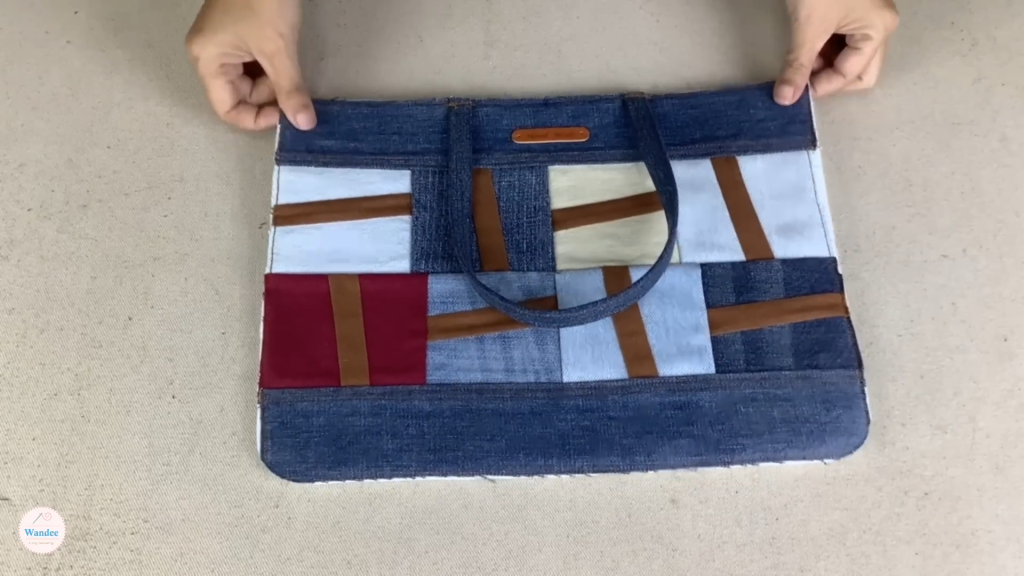
STEP 8 — JOIN OUTER BAG AND LINING
- Turn outer bag right-side out.
- Turn lining inside out.
- Insert the outer bag into the lining so right sides touch.
- Align side seams and clip.
- Sew around the entire top opening with ½” seam allowance.
Make sure straps are sandwiched between the layers.
STEP 9 — TURN EVERYTHING RIGHT-SIDE OUT
- Pull the entire bag through the turning gap in lining.
- Stitch the lining gap closed:
- By machine (straight stitch)
- Or by hand (ladder stitch for invisible finish)
- Push lining into outer bag.
- Press the top edge neatly.
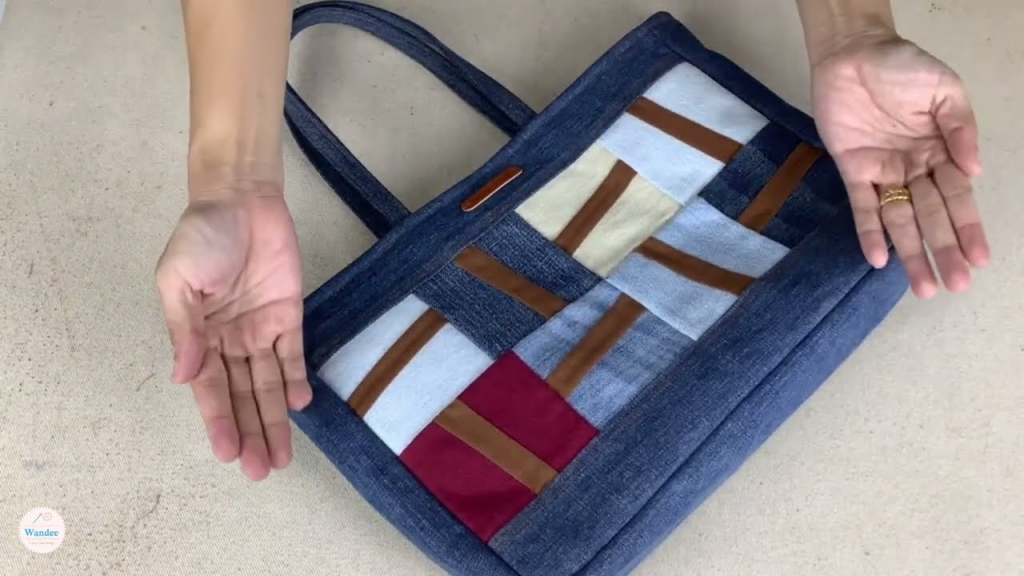
STEP 10 — TOPSTITCH THE TOP EDGE
Topstitch ⅛” from the edge all around the bag opening.
Benefits:
✔ Keeps lining from shifting
✔ Makes the tote look professionally finished
✔ Adds durability
Use longer stitch length (3–3.5 mm) for a clean jeans-style finish.
⭐ OPTIONAL CUSTOMIZATIONS
1. Add a Magnetic Snap
Install before joining lining and outer bag:
- Center it 2″ below top edge.
2. Add a Zipper Closure
Use a recessed zipper panel for a neat finish.
3. Use Jeans Features Creatively
- Waistband as bag top trim
- Back pockets as phone pocket
- Belt loops for attaching keys
- Decorate using original jean seams
4. Patchwork Denim Tote
Use multiple jeans colors for a boho look.
5. Reinforce Bottom
Insert a base stabilizer (plastic canvas or foam) inside the lining.
⚙️ TIPS FOR SEWING DENIM SUCCESSFULLY
- Use a heavy-duty jeans needle (90/14 or 100/16).
- Lengthen your stitch (3–3.5 mm) to avoid choppy seams.
- Go slow over thick areas—use a hump jumper if needed.
- Press often; denim responds well to steam.
- Clip edges rather than pin when fabric is thick.
- Use strong polyester thread for durability.
👝 VARIATION: MINI TOTE / KIDS TOTE BAG
For a small cute tote:
- Panels: 12″ × 12″
- Box corners: 1.5″
- Straps: 3″ × 18″
Perfect for lunch bags or book bags.
🎁 WHY THIS PROJECT IS GREAT
- Eco-friendly (reuses old denim)
- Beginner-friendly pattern
- Tough and long-lasting
- Highly customizable
- Makes wonderful gifts
Every finished tote has unique character thanks to the original jean textures, washes, and stitching.
✅ SUMMARY
Making a denim tote bag from old jeans is one of the easiest yet most rewarding sewing projects. With just two main panels, sturdy straps, and optional pockets, you’ll create a practical, stylish bag perfect for everyday use. The boxed corners give it shape, lining makes it polished, and topstitching gives it that classic jeans look.